Arduino – Display OLED via I2C (SH1106) voorbeelden
Hardware
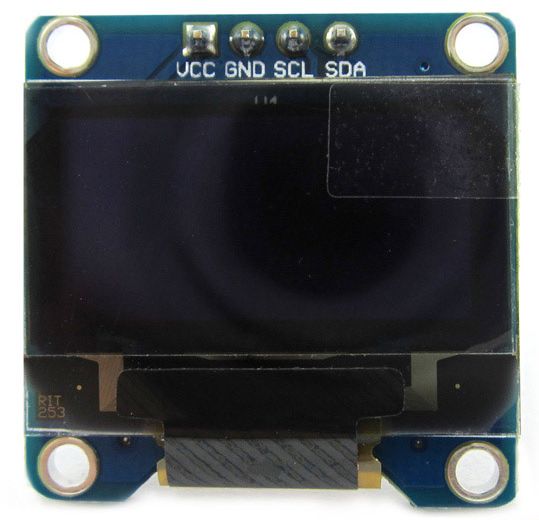
Deze pagina beschrijft een aantal voorbeelden van een OLED 128×64 I2C display op een arduino.
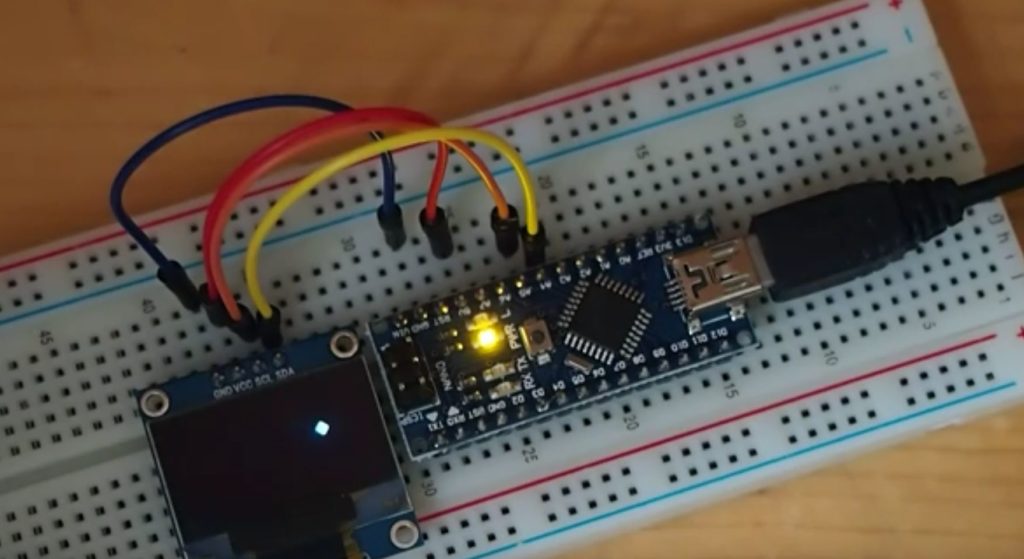
Aansluiten en info:
1) Arduino – Display OLED via I2C (SH1106)
Script – Walking bitmap
|
1 2 3 4 5 6 7 8 9 10 11 12 13 14 15 16 17 18 19 20 21 22 23 24 25 26 27 28 29 30 31 32 33 34 35 36 37 38 39 40 41 42 43 |
#include "U8glib.h" U8GLIB_SH1106_128X64 u8g(U8G_I2C_OPT_NONE); // I2C / TWI const uint8_t bm[] PROGMEM = { 0b00011000, 0b00111100, 0b01111110, 0b11111111, 0b11111111, 0b01111110, 0b00111100, 0b00011000 }; static int WIDTH=128; static int HEIGHT=64; int x, y; void setup(void) { x = 0; y = 0; } void loop(void) { u8g.firstPage(); do { u8g.drawBitmapP( x, y, 1, 8, bm); } while( u8g.nextPage() ); delay(100); x += 8; if( x >= WIDTH){ x = 0; y += 8; if( y >= HEIGHT){ y = 0; } } } |
Script – Display waveform
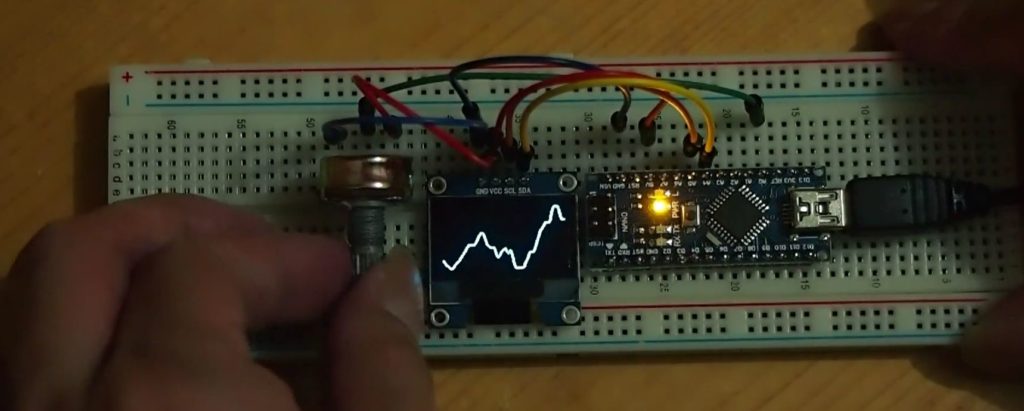
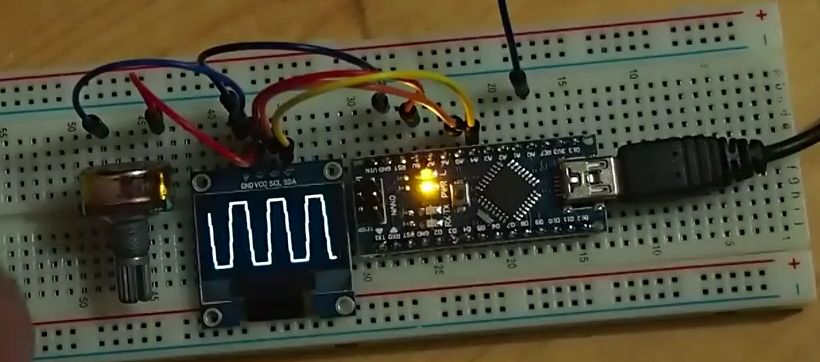
Display oscilloscope-like waveform on 0.96″ 128X64 I2C OLED with Arduino. Read analog input (A0) and plot the waveform acordingly.
This example read analog input inside loop(), it’s not in fixed timing, and affected by the slow operation of displaying. To read input in accurate timing
|
1 2 3 4 5 6 7 8 9 10 11 12 13 14 15 16 17 18 19 20 21 22 23 24 25 26 27 28 29 30 31 32 33 34 35 36 37 38 39 40 41 42 43 44 45 46 47 48 49 50 51 52 53 54 55 56 |
#include "U8glib.h" U8GLIB_SH1106_128X64 u8g(U8G_I2C_OPT_NONE); // I2C / TWI const int WIDTH=128; const int HEIGHT=64; const int LENGTH=WIDTH; const int analogInPin = A0; int analogInValue = 0; int x; int y[LENGTH]; void clearY(){ for(int i=0; i<LENGTH; i++){ y[i] = -1; } } void drawY(){ u8g.drawPixel(0, y[0]); for(int i=1; i<LENGTH; i++){ if(y[i]!=-1){ //u8g.drawPixel(i, y[i]); u8g.drawLine(i-1, y[i-1], i, y[i]); }else{ break; } } } void setup(void) { x = 0; clearY(); } void loop(void) { analogInValue = analogRead(analogInPin); y[x] = map(analogInValue, 0, 1023, HEIGHT-1, 0);; u8g.firstPage(); do { drawY(); } while( u8g.nextPage() ); //delay(10); x++; if(x >= WIDTH){ x = 0; clearY(); } } |
Script – Capture analog input
Last post show a “oscilloscope-like waveform on 0.96″ 128X64 I2C OLED with Arduino Nano”. But the analog input is captured inside loop(), it’s not in fixed timing, and affected by the slow operation of displaying.
|
1 2 3 4 5 6 7 8 9 10 11 12 13 14 15 16 17 18 19 20 21 22 23 24 25 26 27 28 29 30 31 32 33 34 35 36 37 38 39 40 41 42 43 44 45 46 47 48 49 50 51 52 53 54 55 56 57 58 59 60 61 62 63 64 65 66 67 68 69 70 71 72 73 74 75 76 77 78 79 80 81 82 83 84 85 86 87 88 89 90 91 92 93 94 95 96 97 98 99 100 101 102 103 104 105 106 107 |
#include "U8glib.h" U8GLIB_SH1106_128X64 u8g(U8G_I2C_OPT_NONE); // I2C / TWI const int WIDTH=128; const int HEIGHT=64; const int LENGTH=WIDTH; const int LED = 13; boolean LEDst = false; //true: request capture analog input in ISR //false: stop capture, draw waveform in loop boolean capture = false; const int analogInPin = A0; int analogInValue = 0; int x; int y[LENGTH]; /* reference: Arduino Timer and Interrupt Tutorial http://blog.oscarliang.net/arduino-timer-and-interrupt-tutorial/ For our TIMER1 Interrupt: Clock Freq = 16MHz no prescale, 1 16MHz - 0.0625us/cycle To calculator preload value to generate 1ms(1KHz) (65536 - t) x 0.0625us = 1000us t = 65536 - 1000/0.0625 = 49536 To calculator preload value to generate 0.5ms(2KHz) (65536 - t) x 0.0625us = 500us t = 65536 - 500/0.0625 = 57536 */ const int TCNT1_PRELOAD = 57536; void clearY(){ for(int i=0; i<LENGTH; i++){ y[i] = -1; } } void drawY(){ u8g.drawPixel(0, y[0]); for(int i=1; i<LENGTH; i++){ u8g.drawLine(i-1, y[i-1], i, y[i]); } } void setup(void) { pinMode(LED, OUTPUT); // initialize Timer1 noInterrupts(); // disable all interrupts TCCR1A = 0; TCCR1B = 0; TCNT1 = TCNT1_PRELOAD; TCCR1B |= (1 << CS10); // no prescaler TIMSK1 |= (1 << TOIE1); // enable timer overflow interrupt x = 0; clearY(); capture = true; interrupts(); // enable all interrupts } void loop(void) { if(!capture){ u8g.firstPage(); do { drawY(); } while( u8g.nextPage() ); //start capture another frame x = 0; clearY(); capture = true; } delay(100); } ISR(TIMER1_OVF_vect){ TCNT1 = TCNT1_PRELOAD; // preload timer if(capture){ //toggle LED digitalWrite(LED, LEDst=!LEDst); analogInValue = analogRead(analogInPin); y[x] = map(analogInValue, 0, 1023, HEIGHT-1, 0); x++; if(x >= WIDTH){ capture = false; } } } |
Bronnen:
arduino-er.blogspot.nl


