Arduino Shield – LCD1602 display met keypad
Hardware
Informatie
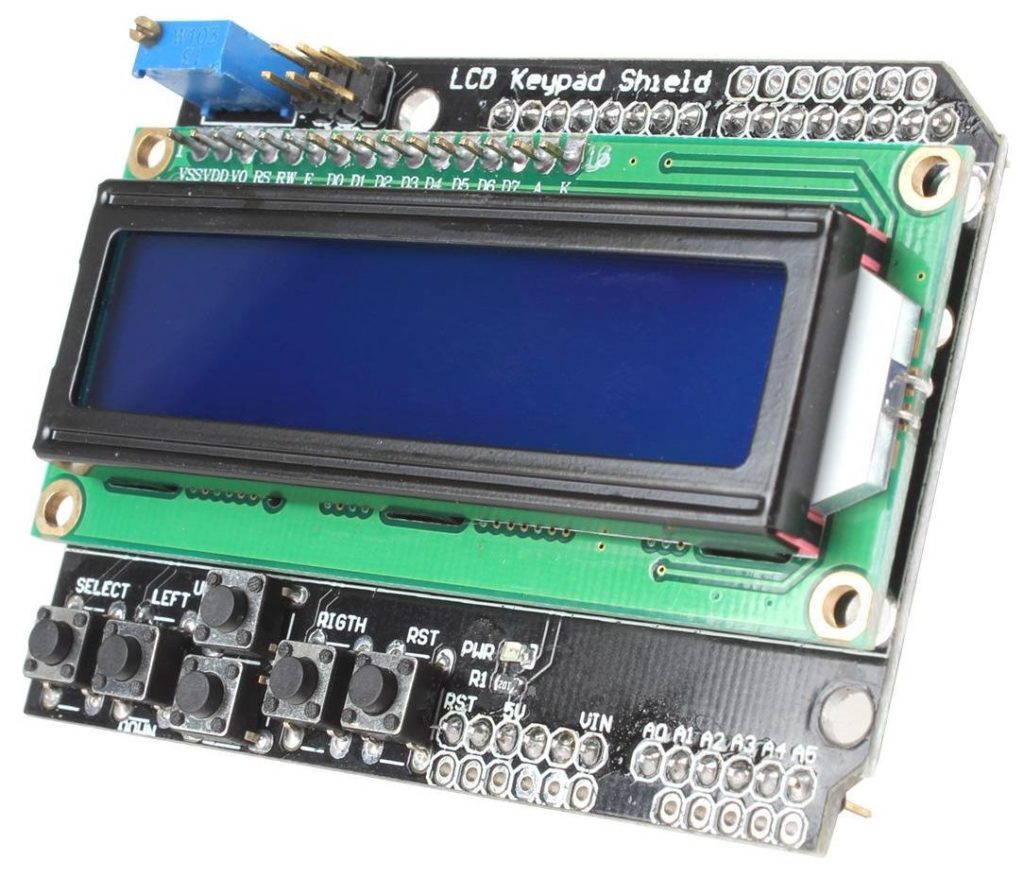
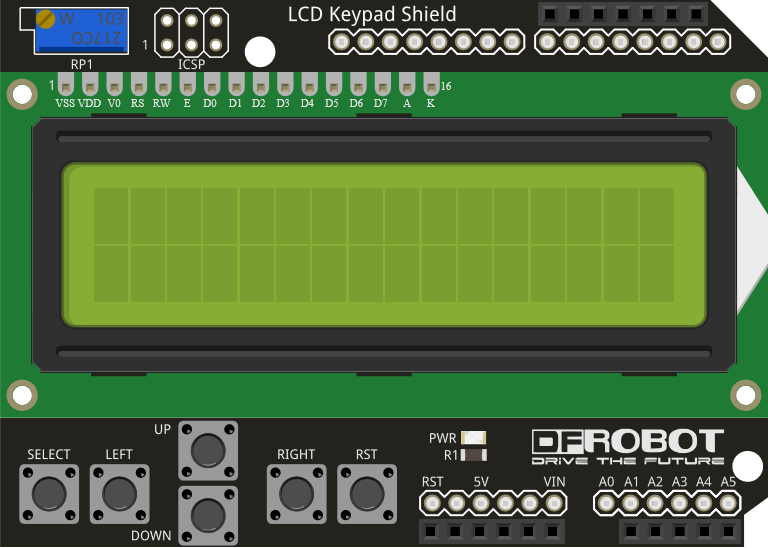
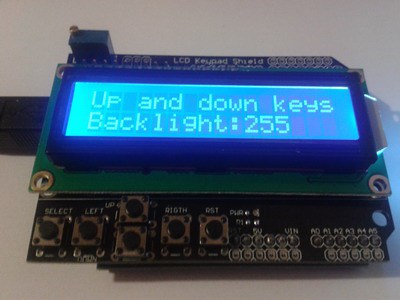
LCD Keypad shield 16×2 karakters met blauw backlight. Te gebruiken met Arduino Uno, Mega, Diecimila en Duemilanove. Contrast is instelbaar via de potmeter.
LCD Keypad shield specificaties:
– Blauw backlight en witte karakters
– Werkt met de 4 Bit Arduino LCD Library
– Links, rechts, omhoog, omlaag en select buttons
– Verstelbaar contrast
– Arduino reset button
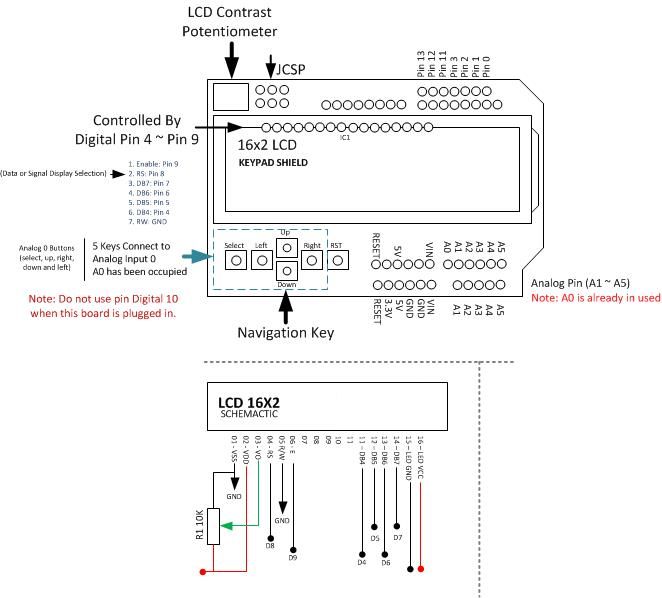
Pinout:
| Pin: | Functie: |
|---|---|
| Analog 0 | Button (select, up, right, down and left) |
| Digital 4 | DB4 |
| Digital 5 | DB5 |
| Digital 6 | DB6 |
| Digital 7 | DB7 |
| Digital 8 | RS (Data or Signal Display Selection) |
| Digital 9 | Enable |
| Digital 10 | Backlit Control |
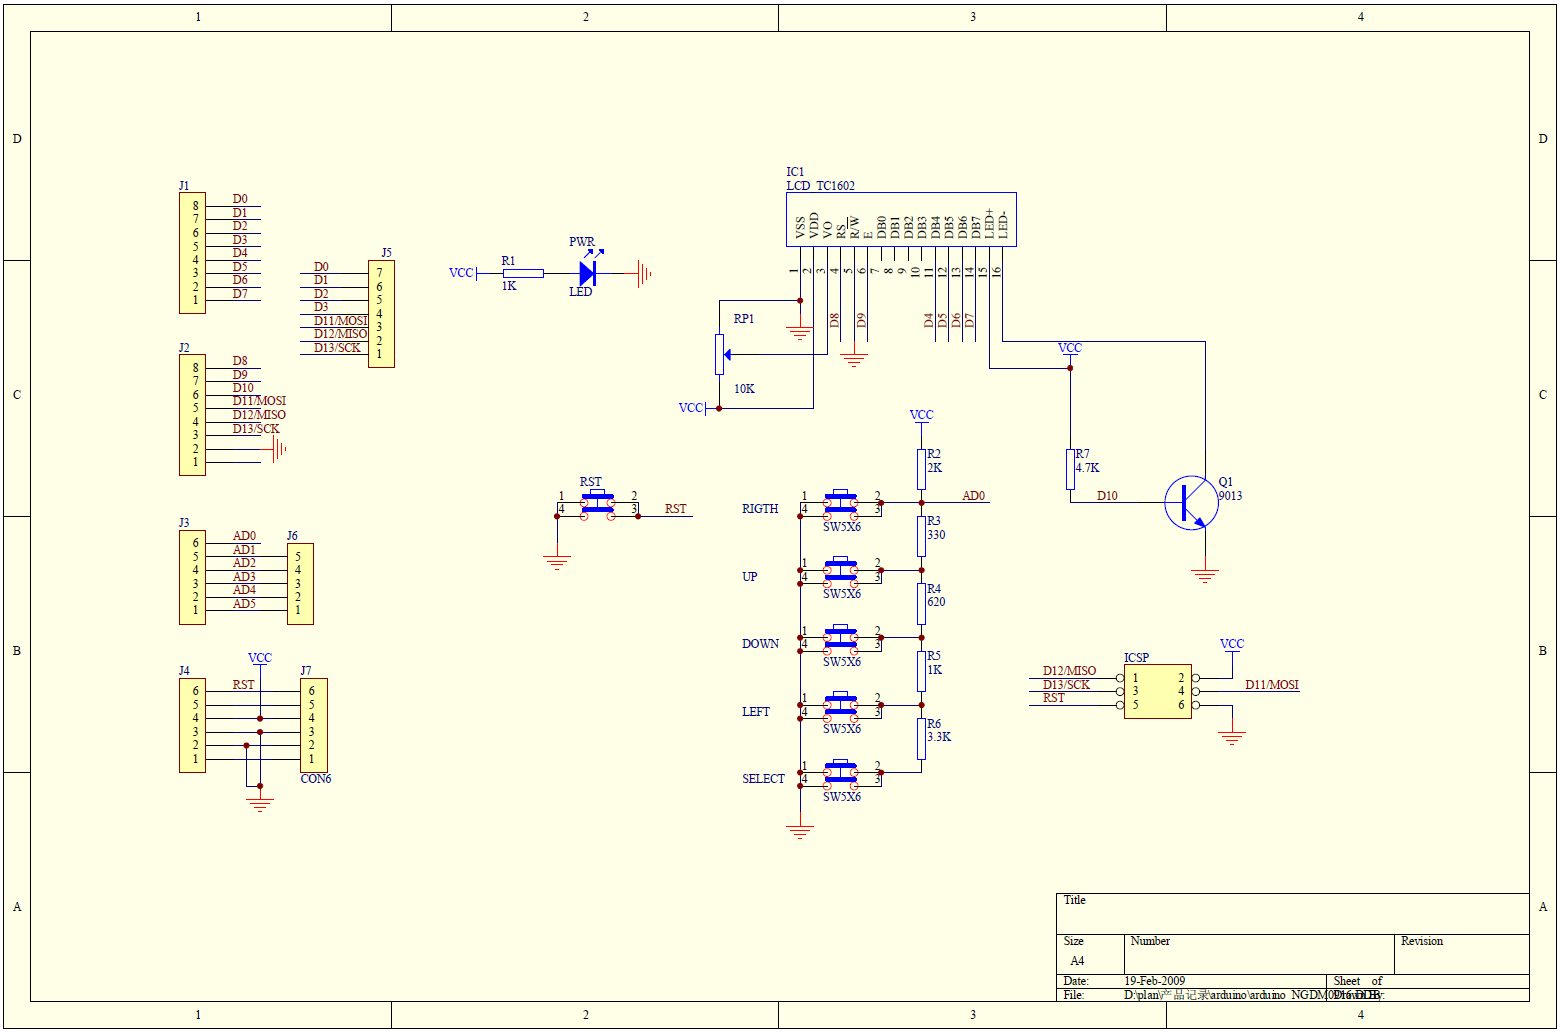
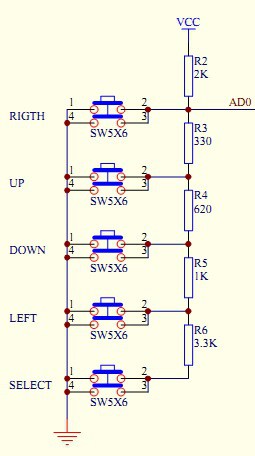
Elektrisch schema:
Wat heb je nodig?
1) Initialiseren van het LCD scherm op de shield kan met de LiquidCrystal.h bibliotheek, met het volgende commando:
LiquidCrystal lcd(8, 9, 4, 5, 6, 7);
Scripts
Backlight instellen
Met dit script kan je met de omhoog/omlaag knop de achtergrond verlichting instellen:
Wat heb je nodig?
1) Arduino LCD Keypad bibliotheek
|
1 2 3 4 5 6 7 8 9 10 11 12 13 14 15 16 17 18 19 20 21 22 23 24 25 26 27 28 29 30 31 32 33 34 35 36 37 38 39 40 41 42 43 44 45 46 47 48 49 50 51 52 53 54 55 56 57 58 59 60 |
#include <LiquidCrystal.h> #include <LCDKeypad.h> //contrast step #define DELTA 10 LCDKeypad lcd; //initial backlight unsigned char bckl=150; void setup(){ pinMode(10, OUTPUT); analogWrite(10, bckl); lcd.begin(16,2); lcd.clear(); lcd.print(" Aadjust"); lcd.setCursor(0,1); lcd.print(" Backlight"); delay(1000); } void loop(){ int btn; lcd.clear(); lcd.print("Up and down keys"); lcd.setCursor(0,1); lcd.print("Backlight:"); lcd.print(bckl); //infinite loop of setting backlight while(1) { //wait for button lcd.blink(); while ((btn=lcd.button())==KEYPAD_NONE) { } delay(50); lcd.noBlink(); //wait for button release while(lcd.button()!=KEYPAD_NONE) { } //adjust the backlight if (btn==KEYPAD_UP) { if ((0xFF-DELTA)>=bckl) bckl +=DELTA; else bckl = 0xFF; } else if (btn==KEYPAD_DOWN) { if (DELTA<=bckl) bckl -= DELTA; else bckl = 0; } lcd.setCursor(0,1); //clear second LCD line lcd.print(" "); lcd.setCursor(0,1); lcd.print("Backlight:"); lcd.print(bckl); //set new backlight analogWrite(10, bckl); } } |
Resultaat:
Knoppen uitlezen
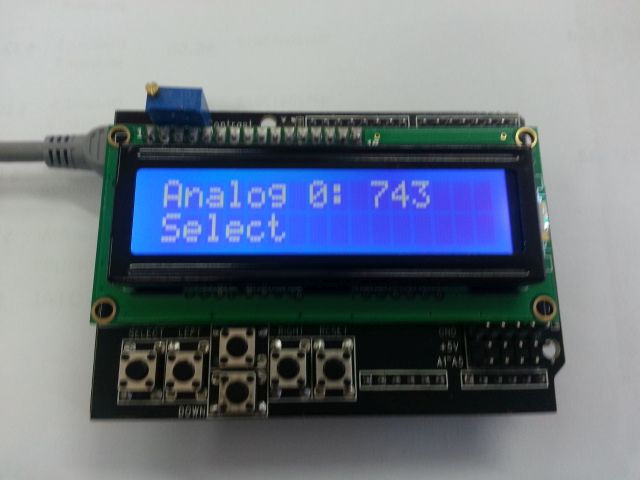
Met dit script kan je met de knoppen van de shield uitlezen, elke knop heeft een eigen weerstand waarde waarover een spanningsval valt, hierdoor kan er op de analoge ingang gemeten worden welke knop is ingedrukt, zie het schema:
|
1 2 3 4 5 6 7 8 9 10 11 12 13 14 15 16 17 18 19 20 21 22 23 24 25 26 27 28 29 30 31 32 33 34 35 36 37 38 39 40 41 42 43 44 45 46 47 48 49 50 51 |
// include the library code: #include <LiquidCrystal.h> int x = 0; int currx = 1023; String btnStr = "None"; // initialize the library with the numbers of the interface pins LiquidCrystal lcd(8, 9, 4, 5, 6, 7); void setup() { // set up the LCD's number of columns and rows: lcd.begin(16, 2); // Print a message to the LCD. lcd.clear(); lcd.setCursor(0,0); lcd.print("Analog 0: "); lcd.print(currx); lcd.setCursor(0,1); lcd.print(btnStr); } void loop() { x = analogRead(A0); // the buttons are read from the analog0 pin // Check if x has changed if ((x != 1023) && (x != currx)){ //update screen and change currx lcd.setCursor(10,0); lcd.print(" "); lcd.setCursor(10,0); lcd.print(x); currx = x; if (currx > 700 && currx < 750){ btnStr="Select"; } else if (currx > 450 && currx < 550){ btnStr="Left"; } else if (currx < 10){ btnStr="Right"; } else if (currx > 100 && currx < 200){ btnStr="Up"; } else if (currx > 250 && currx < 350){ btnStr="Down"; } //update button pressed lcd.setCursor(0,1); lcd.print(" "); lcd.setCursor(0,1); lcd.print(btnStr); } delay(10); } |
Resultaat:
Bronnen:
dfrobot.com
openhardware.gridshield.net
scienceprog.com


