Arduino Shield – 2.4″ TFT LCD Touch
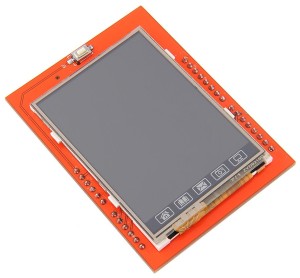
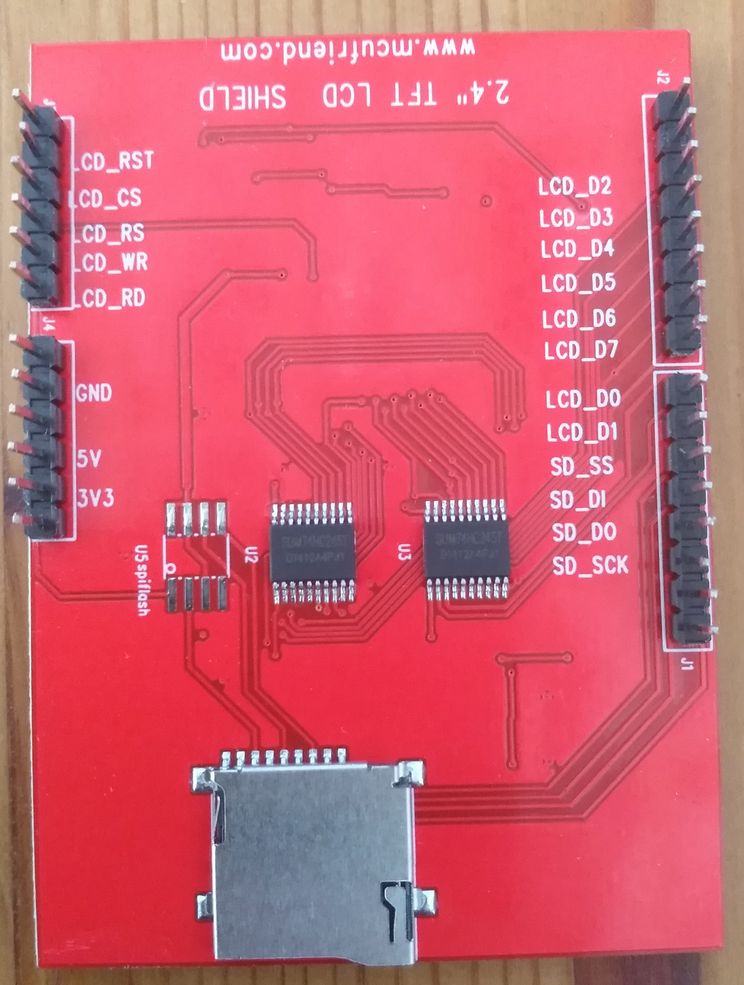
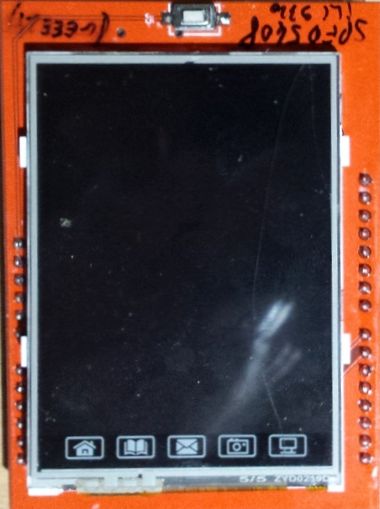
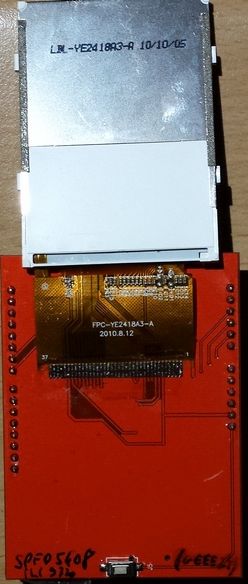
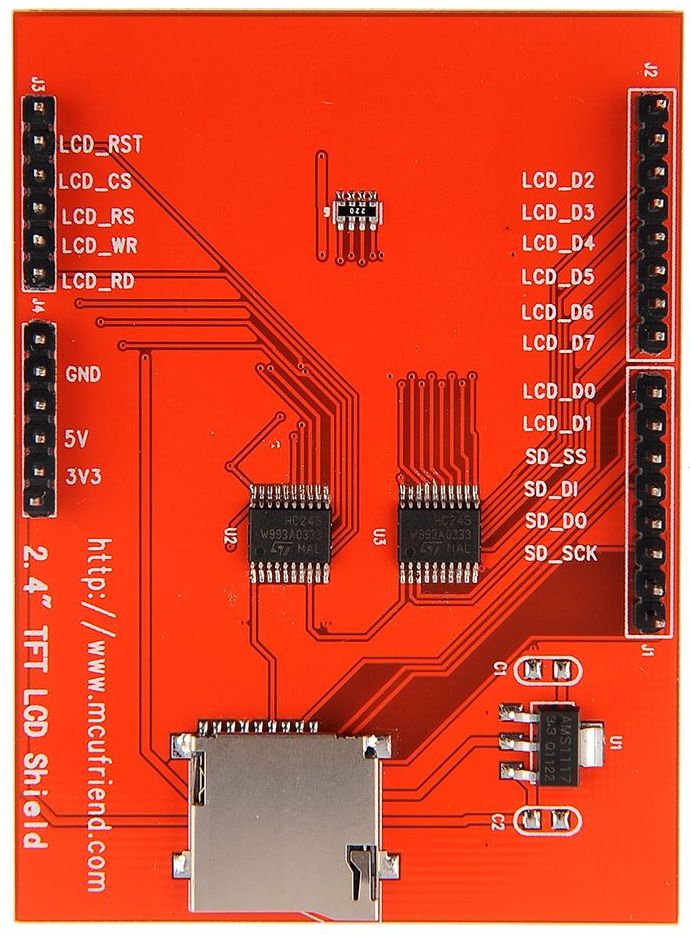
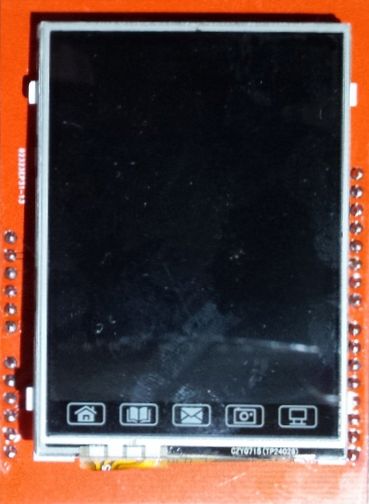
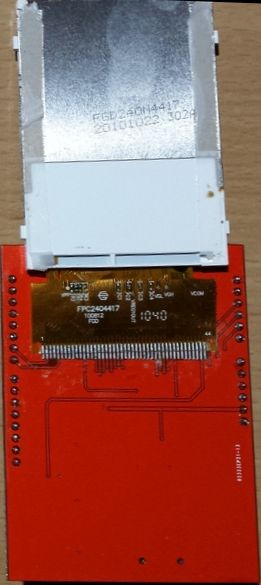
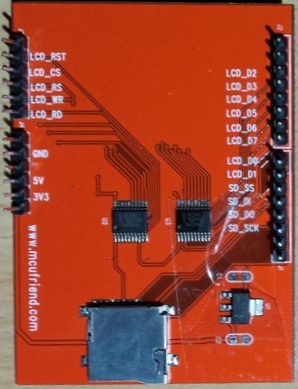
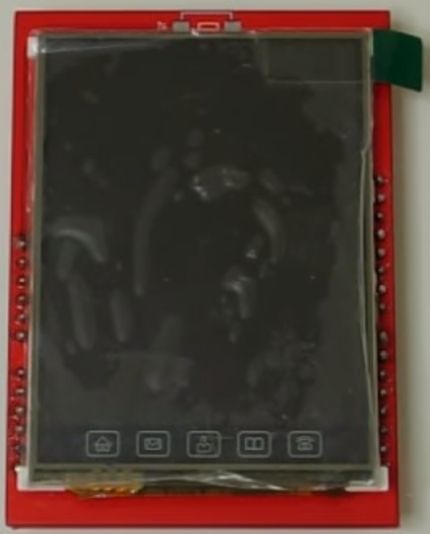
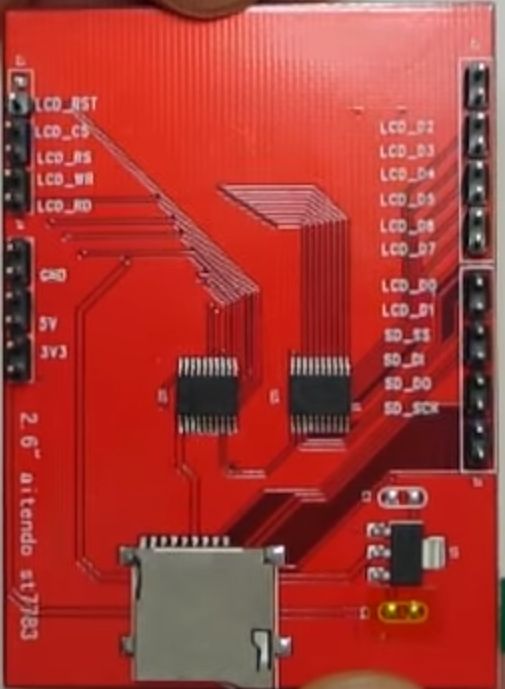
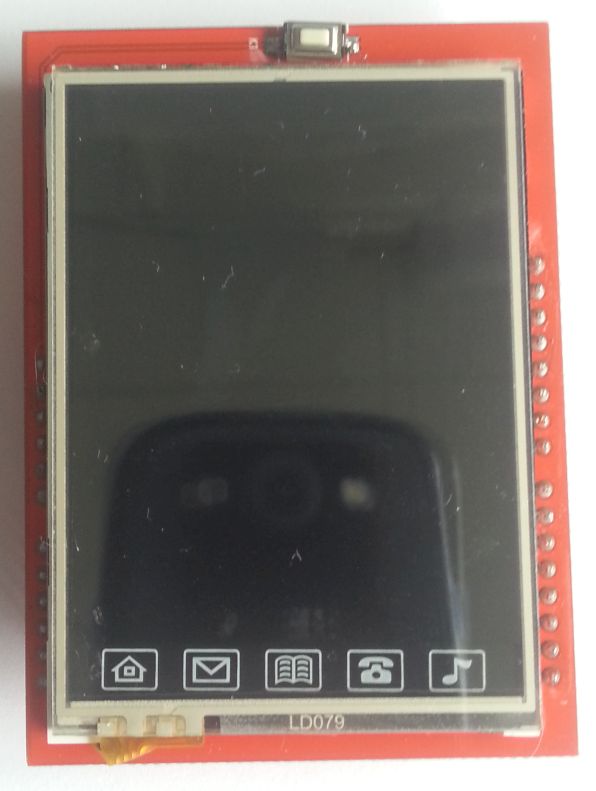
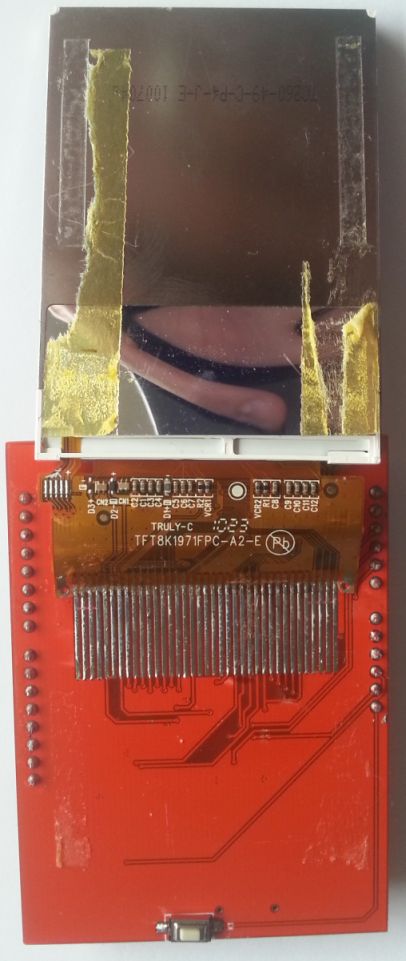
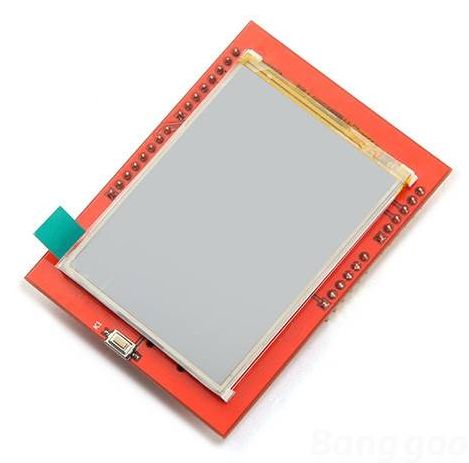
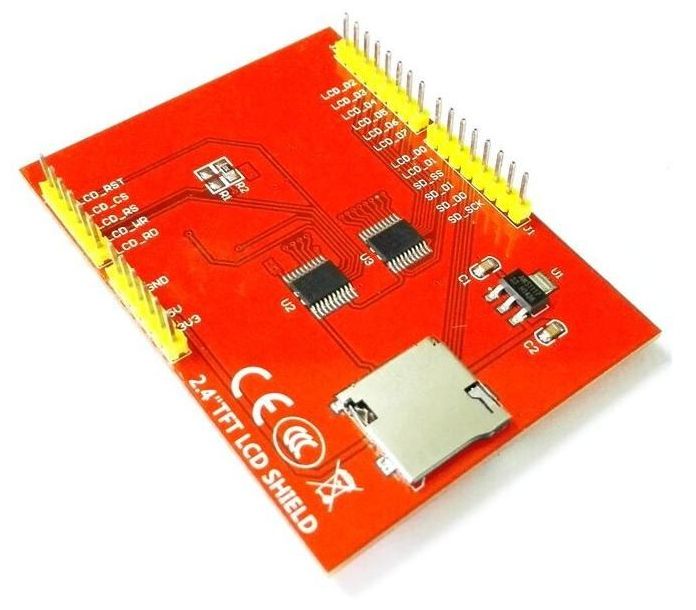
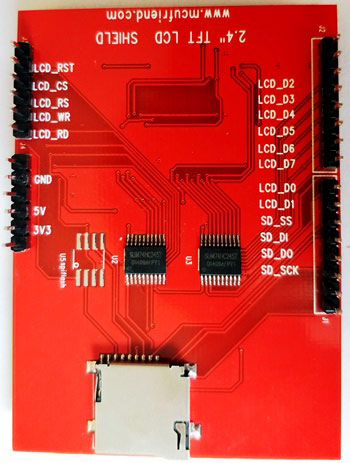
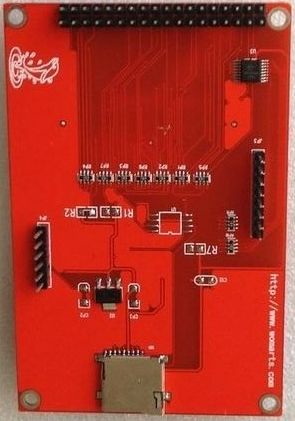
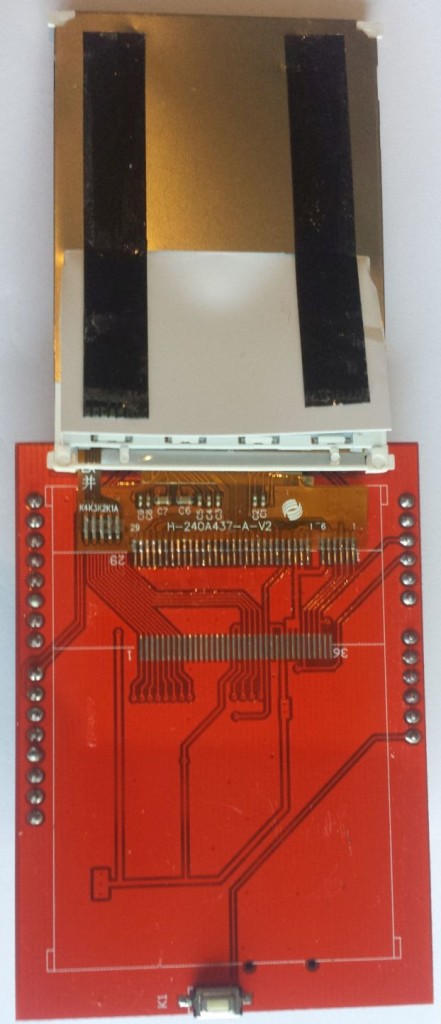
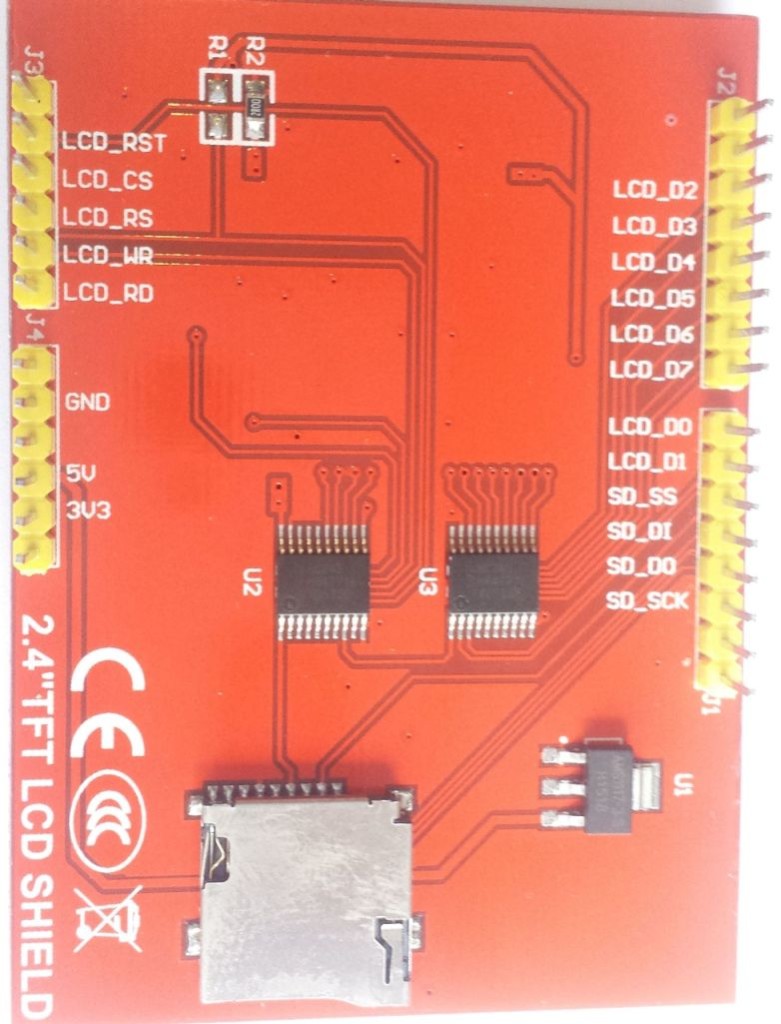
Er zijn verschillende 2.4″ shields TFT LCD Shields in omloop van MCUfriend.com met diverse aansturende chips, er moet veel uitgeprobeerd worden om te achterhalen welke driver ID er gebruikt wordt.
Deze zien er zo uit:
Arduino Library / Driver lijst:
| Chip ID: | LCD driver: | Bibliotheek |
|---|---|---|
| 0x0154 | S6D0154 | Samuraijap "TFTLCD-Library" |
| 0x4535 | LGDP4535 | Onbekend |
| 0x4747 | Himax HX8347-D | MCUFRIEND_kbd |
| 0x7575 | HX8347G | ADAfruit "TFTLCD" Samuraijap "TFTLCD-Library" Joao Lopes SPFD5408 |
| 0x7781 | ST7781 | Smoke and Wires "SWTFT-Library" |
| 0x7783 | ST7783 | Smoke and Wires "SWTFT-Library" TFTLCD-ST7783 bibliotheek |
| 0x8357 | HX8357D | ADAfruit "TFTLCD" Samuraijap "TFTLCD-Library" Joao Lopes SPFD5408 |
| 0x9325 | ILI9325 | ADAfruit "TFTLCD" Samuraijap "TFTLCD-Library" Joao Lopes SPFD5408 |
| 0x9327 | ILI9327 | Samuraijap "TFTLCD-Library" |
| 0x9328 | ILI9328 | ADAfruit "TFTLCD" Samuraijap "TFTLCD-Library" Joao Lopes SPFD5408 |
| 0x9341 | ILI9341 | ADAfruit "TFTLCD" Samuraijap "TFTLCD-Library" Joao Lopes SPFD5408 |
Fix mirrored text (example MCU friend library)
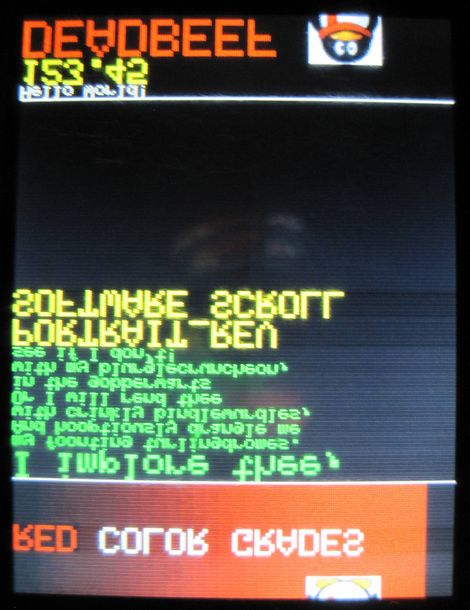
Sometimes you may wind up with mirorred text:
To correct this, you need to flip the axis and rotate the screen 180 degrees, the steps:
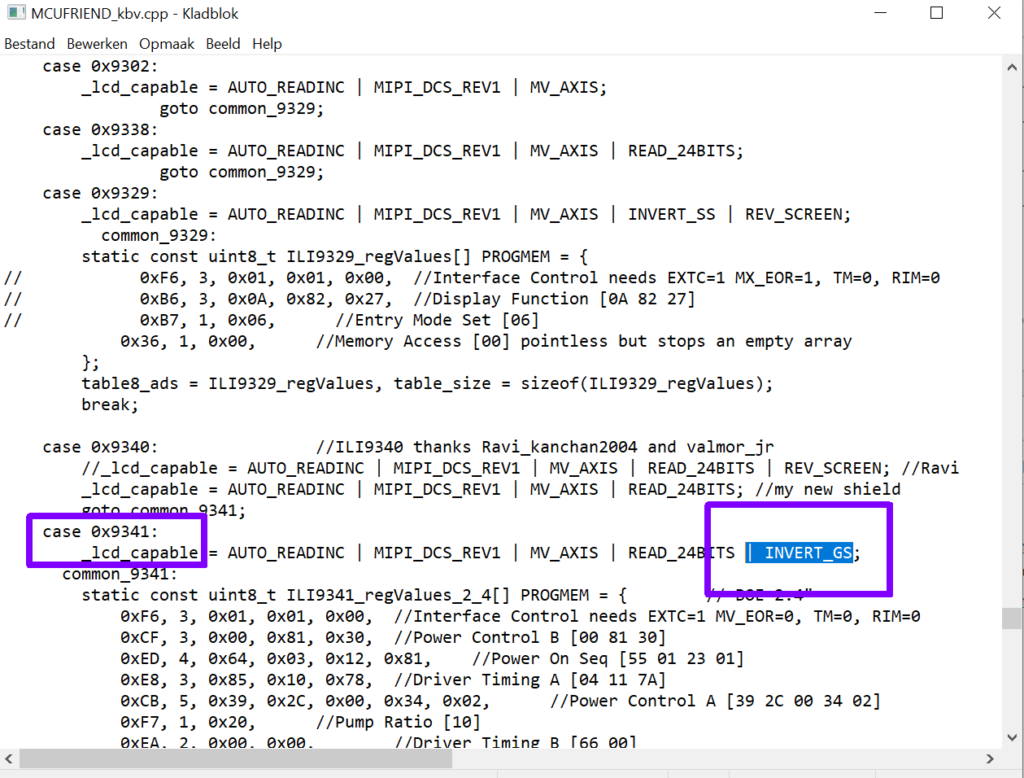
edit file MCUFRIEND_kbv.cpp , search for case 0x9341: add the INVERT_GS command to the _lcd_capable instruction:
Save the file, and you are ready, next to rotate 180 degrees enter the rotation command in your code to 2
tft.setRotation(2);
this will fix your mirror view ;-)
Touchscreen issues and calibration
One thing that you should note when using this library is that when you upload the code and start your touchscreen module. You might notice that your touchscreen is not working. Don’t panic it is probably because the pins are not correct. The pins were changed around a little so in my case. In your Arduino touchscreen sketch change the pins as below:
#define YP A3
#define XM A2
#define YM 9
#define XP 8
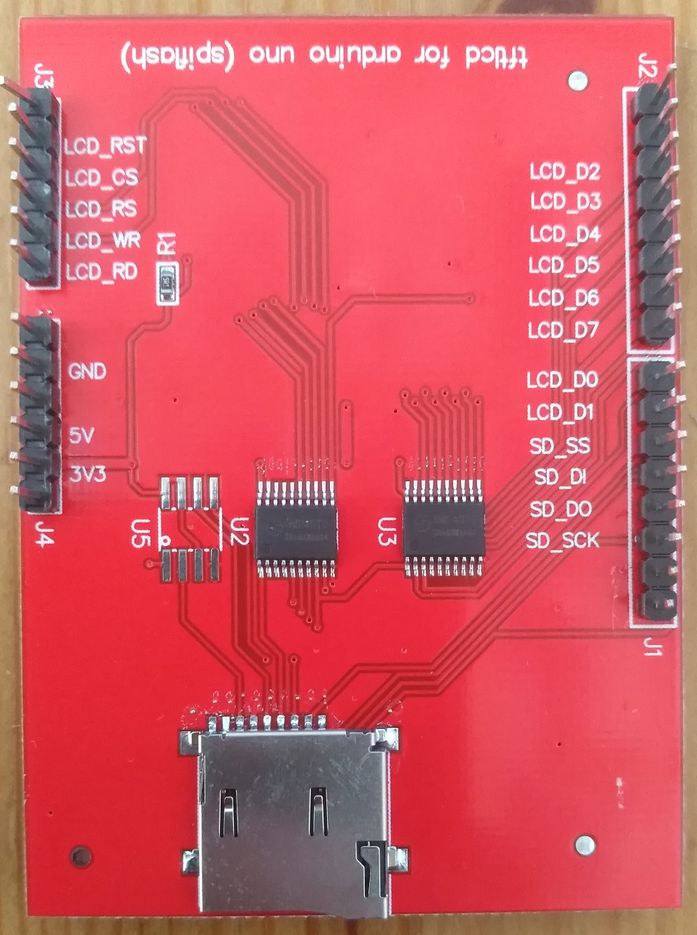
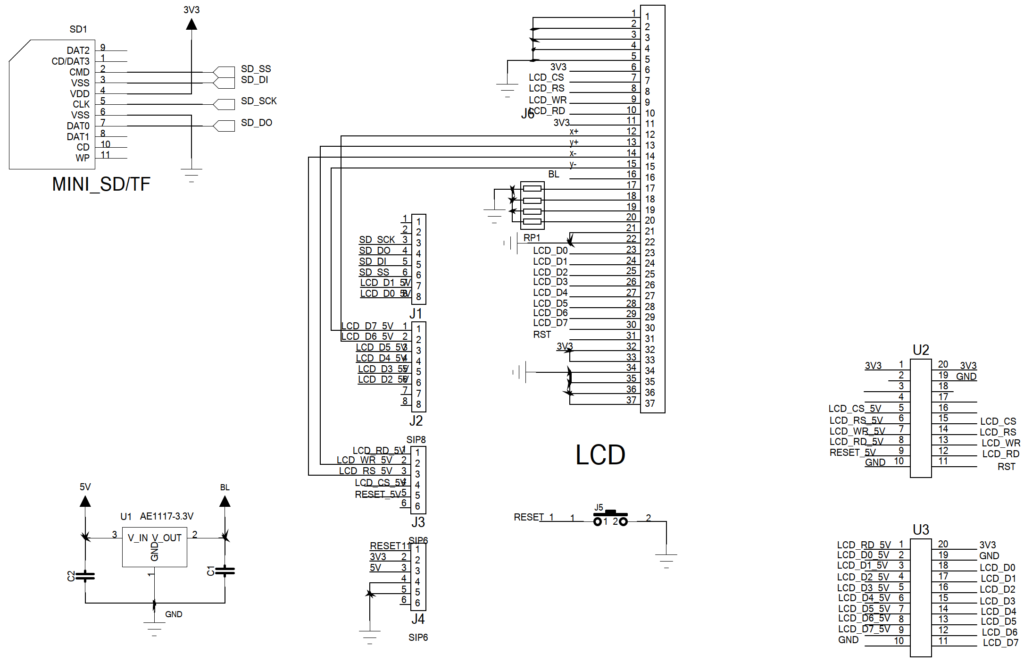
you can also look at the schematic (if provided) for the pinout on the module that you bought.
The next problem I ran into is that the coordinates are messed up for my module. Luckily, you can change the configuration by editing this file : SPDF5408_Touchscreen.cpp. In there locate this line of code: return TSPoint(1023 – x, 1023 – y, z);
for me it got it working with this settings: return TSPoint(x,y-50,z); you can play around with these values to get your desired result.
Bron: http://au0516.blogspot.com/
MCUFriend 2.4 inch LCD Shield – SPFD5408 (0x9341)
MCUFriend 2.4 inch LCD Shield – Himax HX8347-D driver (0x4747)
Attention: need to activate: #define SUPPORT_8347D in file MCUFRIEND_kbv.cpp
MCUFriend 2.4 inch LCD Shield – ILI9328 driver (0x9328)
Arduino Library / Driver: ADAfruit “TFTLCD” library
MCUFriend 2.4 inch LCD Shield – UNKNOWN driver (0x7777)
Arduino Library / Driver: UNKNOWN
MCUFriend 2.4 inch LCD Shield – ST7781 driver (0x7783)
Arduino Library / Driver: Smoke and wires “SWTFT” library
MCUFriend 2.4 inch LCD Shield – S6D0154 driver (0x0154)
Arduino Library / Driver: Samuraijap “TFTLCD-Library”
MCUFriend 2.4 inch LCD Shield – ILI9341 driver (0x9341)
Arduino Library / Driver: Joao Lopes SPFD5408 bibliotheek”
MCUFriend 2.4 inch LCD Shield – ILI9327 driver (0x9327)
Bron: Arduino forum RU
Arduino Library / Driver: Samuraijap “TFTLCD-Library”
MCUFriend 2.4 inch LCD Shield – ST7783 LCD driver (0x07783)
Arduino Library / Driver: “TFTLCD-ST7783”
MCUFriend 2.4 inch LCD Shield – UNKNOWN driver (0x0000)
MCUFriend 2.4 inch LCD Shield – LGDP4535 LCD driver (0x4535)
Informatie (ENG):
Bron Arduino forum
I was unable to find a programming datasheet for the lgdp4535 but I did turn-up some code for a different micropocessor platform that made this possible.
So this is a hack of the “Adafruit_TFTLCD” library where the ILI9341 initialisation valuse are replace with the values for the lgdp4535 and the library is initalised forced to use the ILI9341.
To do this modify “Adafruit_TFTLCD.cpp” and replace the array “ILI932x_regValues” with the following:
|
1 2 3 4 5 6 7 8 9 10 11 12 13 14 15 16 17 18 19 20 21 22 23 24 25 26 27 28 29 30 31 32 33 34 35 36 37 38 39 40 41 42 |
static const uint16_t ILI932x_regValues[] PROGMEM = { 0x15, 0x0030, /* Set the internal vcore voltage */ 0x9A, 0x0010, /* Start internal OSC */ 0x11, 0x0020, /* set SS and SM bit */ 0x10, 0x3428, /* set 1 line inversion */ 0x12, 0x0002, /* set GRAM write direction and BGR=1 */ 0x13, 0x1038, /* Resize register */ TFTLCD_DELAY, 40, 0x12, 0x0012, /* set the back porch and front porch */ TFTLCD_DELAY, 40, 0x10, 0x3420, /* set non-display area refresh cycle ISC[3:0] */ 0x13, 0x3045, /* FMARK function */ TFTLCD_DELAY, 70, 0x30, 0x0000, /* RGB interface setting */ 0x31, 0x0402, /* Frame marker Position */ 0x32, 0x0307, /* RGB interface polarity */ 0x33, 0x0304, /* SAP, BT[3:0], AP, DSTB, SLP, STB */ 0x34, 0x0004, /* DC1[2:0], DC0[2:0], VC[2:0] */ 0x35, 0x0401, /* VREG1OUT voltage */ 0x36, 0x0707, /* VDV[4:0] for VCOM amplitude */ 0x37, 0x0305, /* SAP, BT[3:0], AP, DSTB, SLP, STB */ 0x38, 0x0610, /* DC1[2:0], DC0[2:0], VC[2:0] */ 0x39, 0x0610, /* VREG1OUT voltage */ 0x01, 0x0100, /* VDV[4:0] for VCOM amplitude */ 0x02, 0x0300, /* VCM[4:0] for VCOMH */ 0x03, 0x1030, /* GRAM horizontal Address */ 0x08, 0x0808, /* GRAM Vertical Address */ 0x0A, 0x0008, 0x60, 0x2700, /* Gate Scan Line */ 0x61, 0x0001, /* NDL,VLE, REV */ 0x90, 0x013E, 0x92, 0x0100, 0x93, 0x0100, 0xA0, 0x3000, 0xA3, 0x0010, 0x07, 0x0001, 0x07, 0x0021, 0x07, 0x0023, 0x07, 0x0033, 0x07, 0x0133, }; |
Then in your setup code use: tft.begin(0x9341);
Touchscreen
Deze displays zijn voorzien van een touchscreen, met bijvoorbeeld de “Adafruit Touchscreen bibliotheek” zijn deze uit te lezen:
Adafruit GFX script functies:
Scherm vullen met een kleur: tft.fillScreen([KLEUR IN HEX]);
Cursor coördinaten instellen: tft.setCursor([X], [Y]);
Tekstkleur instellen: tft.setTextColor([KLEUR IN HEX]);
Tekstgrootte instellen: tft.setTextSize([1 t/m 5]);
Tekst printen op scherm: tft.println("[TEKST]");
Lijn tekenen: tft.drawLine([VAN X], [VAN Y], [NAAR X], [NAAR Y], [KLEUR IN HEX]);
Vierkant tekenen: tft.drawRect([X], [Y], [Lengte], [Breedte], [KLEUR IN HEX]);
Vierkant tekenen (gevuld): tft.fillRect([X], [Y], [Lengte], [Breedte], [KLEUR IN HEX]);
Cirkel tekenen: tft.drawCircle([X], [Y], [RADIUS], KLEUR IN HEX);
Cirkel tekenen (gevuld): tft.fillCircle([X], [Y], [RADIUS], KLEUR IN HEX);
Driehoek tekenen: tft.drawTriangle([X TOP], [Y TOP], [X LINKS ONDER], [Y LINKS ONDER], [X RECHTS ONDER], [Y RECHTS ONDER], [KLEUR IN HEX]);
Driehoek tekenen (gevuld): = tft.fillTriangle([X TOP], [Y TOP], [X LINKS ONDER], [Y LINKS ONDER], [X RECHTS ONDER], [Y RECHTS ONDER], [KLEUR IN HEX]);
etc…
Voorbeeld Scripts
Voorbeeld script “Hallo Wereld” (Adafruit)
|
1 2 3 4 5 6 7 8 9 10 11 12 13 14 15 16 17 18 19 20 21 22 23 24 25 26 27 28 29 30 31 32 33 34 |
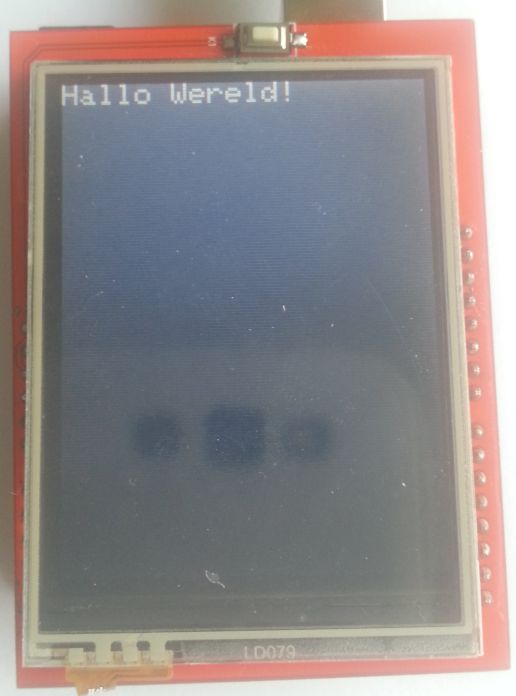
#include <Adafruit_GFX.h> // Core graphics bibliotheek #include <Adafruit_TFTLCD.h> // Hardware-specifieke bibliotheek #define LCD_CS A3 #define LCD_CD A2 #define LCD_WR A1 #define LCD_RD A0 #define LCD_RESET A4 // Wijs leesbare namen toe aan 16-bit HEX kleur waarden: #define BLACK 0x0000 #define BLUE 0x001F #define RED 0xF800 #define GREEN 0x07E0 #define CYAN 0x07FF #define MAGENTA 0xF81F #define YELLOW 0xFFE0 #define WHITE 0xFFFF Adafruit_TFTLCD tft(LCD_CS, LCD_CD, LCD_WR, LCD_RD, LCD_RESET); void setup() { tft.reset(); uint16_t identifier = tft.readID(); tft.begin(identifier); tft.fillScreen(BLACK); } void loop() { tft.setCursor(0, 0); tft.setTextColor(WHITE); tft.setTextSize(2); tft.println("Hallo Wereld!"); } |
Het resultaat:
Voorbeeld script “Hallo Wereld” (MCU Friend library)
|
1 2 3 4 5 6 7 8 9 10 11 12 13 14 15 16 17 18 19 20 21 22 23 24 25 26 27 28 29 30 31 32 33 34 35 36 37 38 39 40 41 42 |
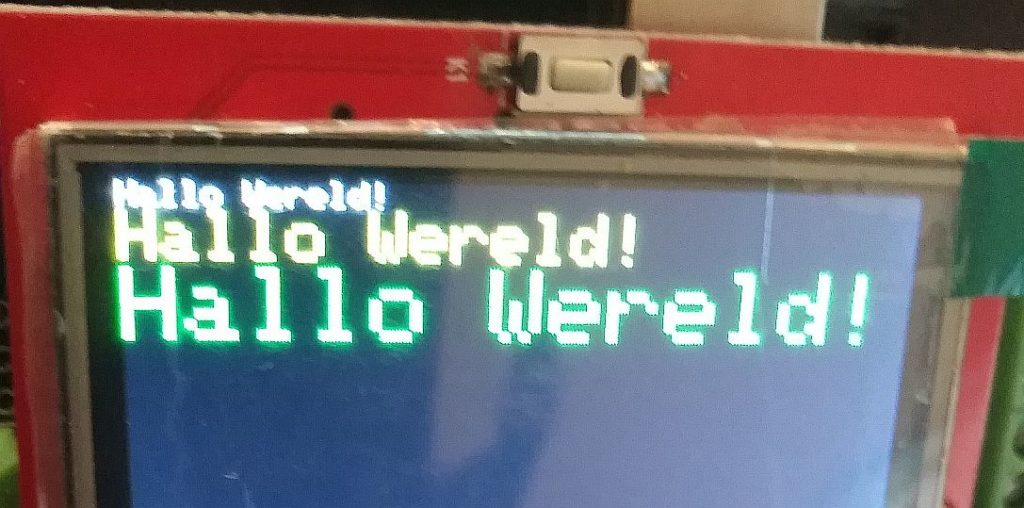
#include <SPI.h> // f.k. for Arduino-1.5.2 #include "Adafruit_GFX.h"// Hardware-specific library #include <MCUFRIEND_kbv.h> MCUFRIEND_kbv tft; #define LCD_CS A3 // Chip Select goes to Analog 3 #define LCD_CD A2 // Command/Data goes to Analog 2 #define LCD_WR A1 // LCD Write goes to Analog 1 #define LCD_RD A0 // LCD Read goes to Analog 0 #define LCD_RESET A4 // Can alternately just connect to Arduino's reset pin // Assign human-readable names to some common 16-bit color values: #define BLACK 0x0000 #define BLUE 0x001F #define RED 0xF800 #define GREEN 0x07E0 #define CYAN 0x07FF #define MAGENTA 0xF81F #define YELLOW 0xFFE0 #define WHITE 0xFFFF void setup(void) { tft.begin(0x9325); tft.setRotation(0); tft.fillScreen(BLACK); tft.setTextSize(1); tft.setTextColor(WHITE); tft.println("Hallo Wereld!"); tft.setTextSize(2); tft.setTextColor(YELLOW); tft.println("Hallo Wereld!"); tft.setTextSize(3); tft.setTextColor(GREEN); tft.println("Hallo Wereld!"); } void loop(void) { delay(20); } |
Het resultaat:
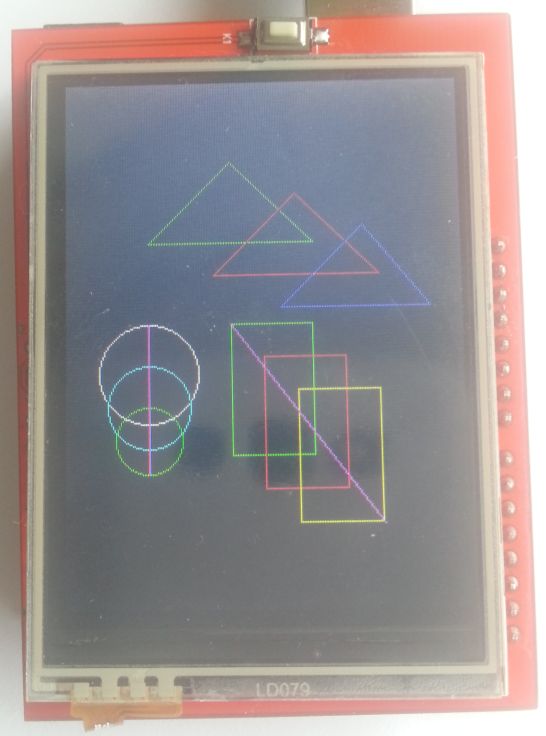
Voorbeeld script “figuren”
|
1 2 3 4 5 6 7 8 9 10 11 12 13 14 15 16 17 18 19 20 21 22 23 24 25 26 27 28 29 30 31 32 33 34 35 36 37 38 39 40 41 42 43 44 45 |
#include <Adafruit_GFX.h> // Core graphics bibliotheek #include <Adafruit_TFTLCD.h> // Hardware-specifieke bibliotheek #define LCD_CS A3 #define LCD_CD A2 #define LCD_WR A1 #define LCD_RD A0 #define LCD_RESET A4 // Wijs leesbare namen toe aan 16-bit HEX kleur waarden: #define BLACK 0x0000 #define BLUE 0x001F #define RED 0xF800 #define GREEN 0x07E0 #define CYAN 0x07FF #define MAGENTA 0xF81F #define YELLOW 0xFFE0 #define WHITE 0xFFFF Adafruit_TFTLCD tft(LCD_CS, LCD_CD, LCD_WR, LCD_RD, LCD_RESET); void setup() { tft.reset(); uint16_t identifier = tft.readID(); tft.begin(identifier); tft.fillScreen(BLACK); } void loop() { tft.drawTriangle(100, 50, 50, 100, 150, 100, GREEN); tft.drawTriangle(140, 70, 90, 120, 190, 120, RED); tft.drawTriangle(180, 90, 130, 140, 220, 140, BLUE); tft.drawCircle(50, 180, 30, WHITE); tft.drawCircle(50, 200, 25, CYAN); tft.drawCircle(50, 220, 20, GREEN); tft.drawRect(100, 150, 50, 80, GREEN); tft.drawRect(120, 170, 50, 80, RED); tft.drawRect(140, 190, 50, 80, YELLOW); tft.drawLine(100, 150, 190, 270, MAGENTA); tft.drawLine(50, 150, 50, 240, MAGENTA); } |
Het resultaat:
Schema


