Raspberry Pi SD image – Windows 10 IoT
![]()
![]()
Wat kan ik met Windwos 10 IoT?
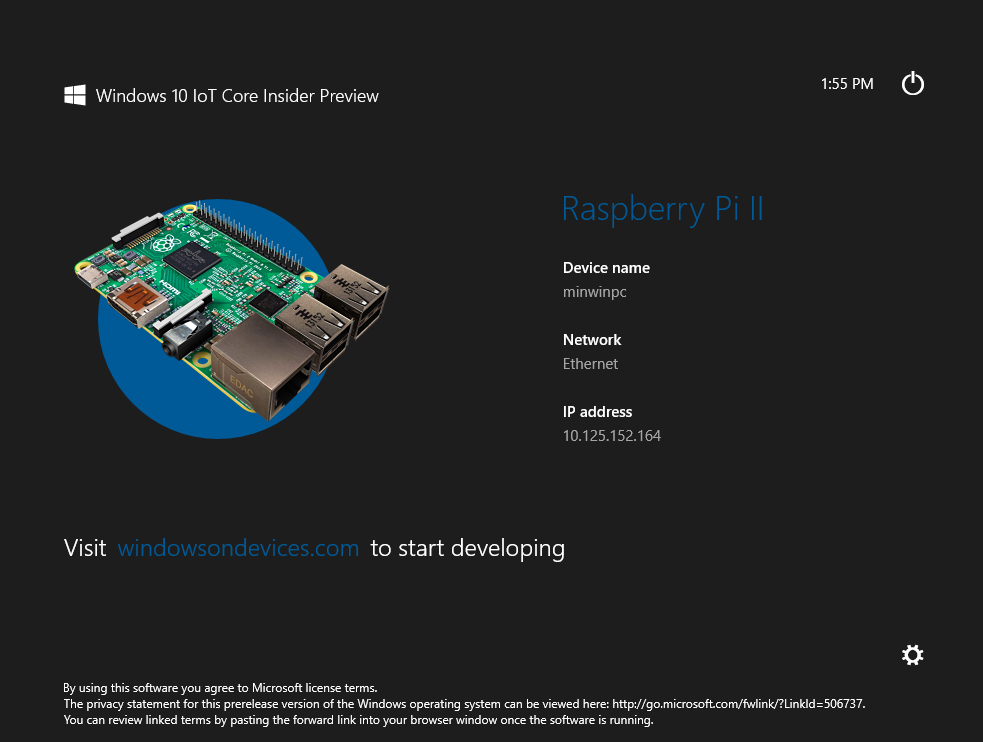
Deze Windows 10 IoT is niet wat je denkt, het is geen desktop versie van Windows, het is een OS “core” bedoeld voor het ontwikkelen van “internet of things”, het enige wat je te zien krijgt is een “fullscreen universal windows app”, apps kunnen geladen worden op de Raspberry Pi vanaf een Windows 10 desktop machine.
Windows 10 IoT op SD-kaart zetten
ISO bestand
Zodra je de IoT core download heb je een ISO bestand (CD image), zodra je deze dubbelklikt wordt de image gemount (geladen) als een viirtuele schijf en kan je de bestanden benaderen.
![]()
MSI bestand
Eenmaal de ISO geladen zie je een MSI bestand, dat is een installatieprogramma.

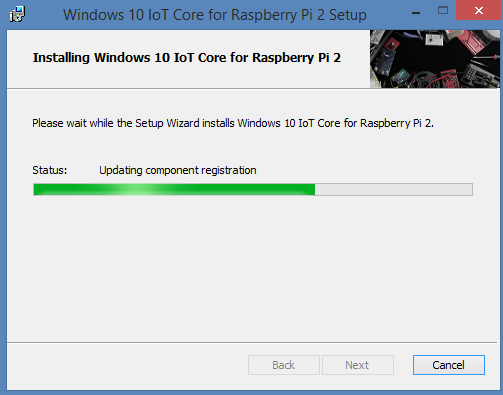
Na de installatie is het FFU bestand (image) te vinden in C:\Program Files (x86)\Microsoft IoT\FFU\RaspberryPi2.
FFU bestand
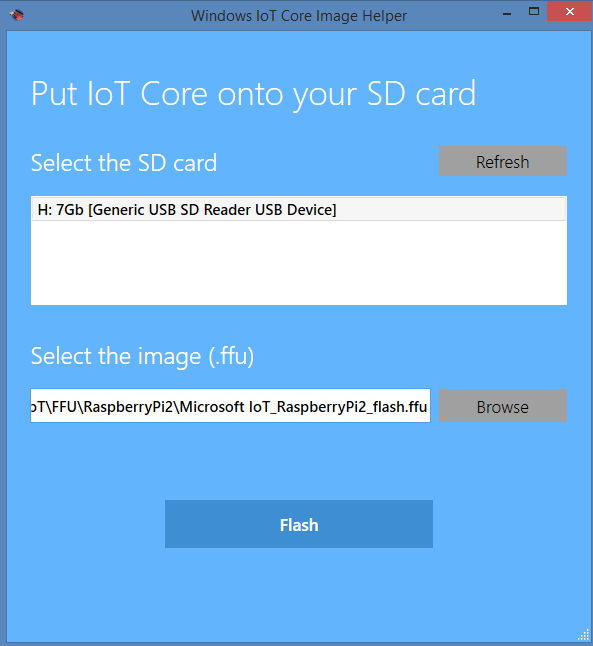
Nu heb je een FFU bestand, dit bestand is door middel van het programma IoTCoreImageHelper.exe (is geinstalleerd bij de installatie van de setup), te installeren op een SD kaart.

Dit programma kun je vinden door te zoeken in het startmenu:

Eenmaal de tool gestart kun je een schijf kiezen waarnaartoe het FFU bestand geschreven moet worden:
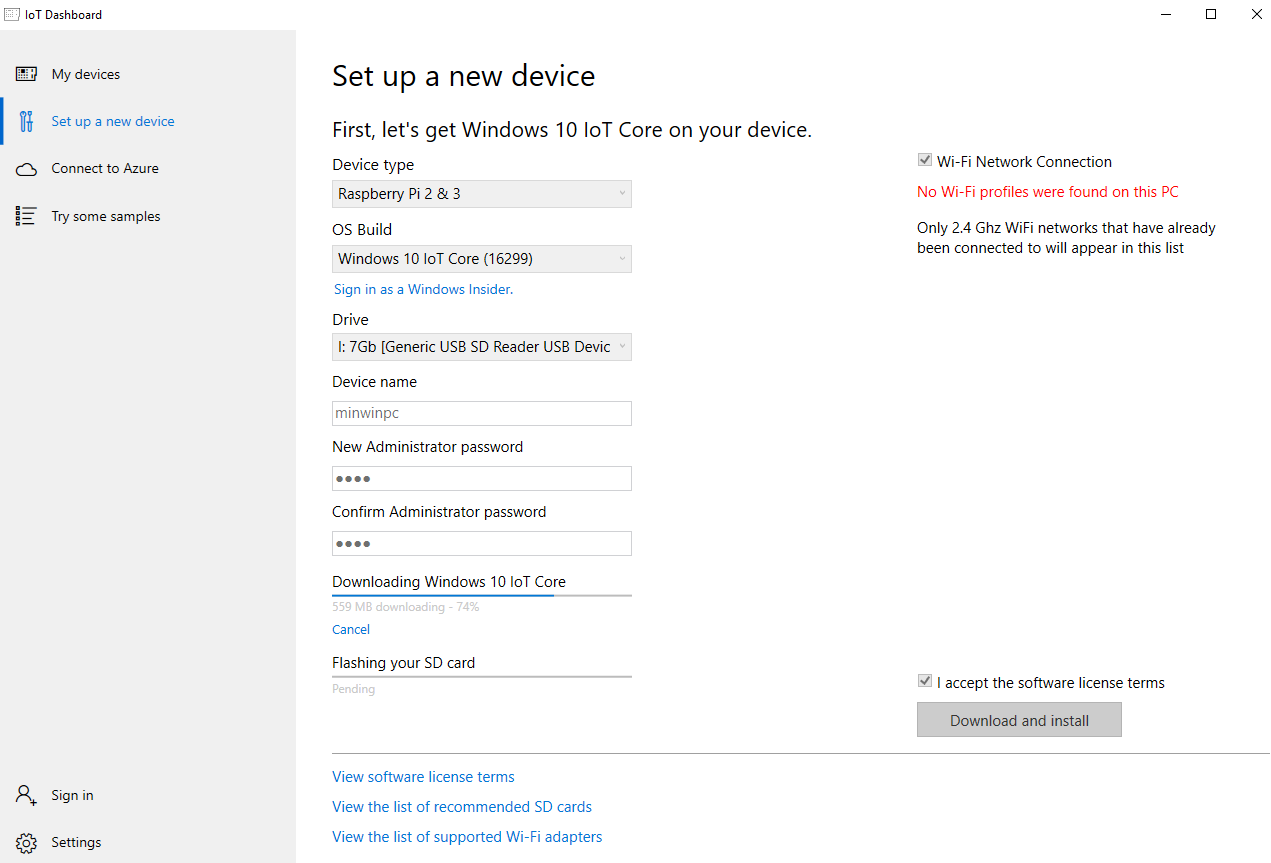
IoT Dashboard
PS tegenwoordig heb je IoT dashboard nodig:
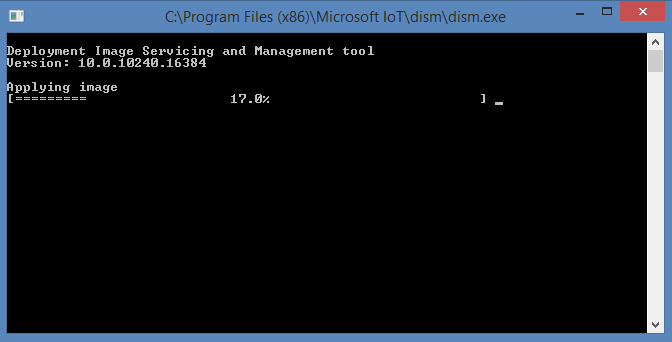
DSIM
Het programma DSIM wordt gestart om de image op de SD kaart te schrijven:
Instructies om DISM zelf te starten (ENG)
DISM is te vinden in C:\Program Files (x86)\Microsoft IoT\Dism
- Open an administrator command prompt and navigate to the folder containing your local flash.ffu.
- Find the disk number that your SD card is on your computer. This will be used when the image is applied in the next step. To do this, you can use the diskpart utility. Run the following commands: diskpart list disk exit
- Using the administrator command prompt, apply the image to your SD card by running the following command (be sure to replace PhysicalDriveN with the value you found in the previous step, for example, if your SD card is disk number 3, use /ApplyDrive:\\.\PhysicalDrive3 below): dism.exe /Apply-Image /ImageFile:flash.ffu /ApplyDrive:\\.\PhysicalDriveN /SkipPlatformCheck
- Click on the “Safely Remove Hardware” icon in your task tray and select your USB SD card reader to safely remove it from the system. Failing to do this can cause corruption of the image.
Het FFU bestand omzetten naar IMG.
Het is mogelijk om het FFU bestand om te zetten in het meer gangbare formaat IMG, daarvoor is een Python script geschreven.
Wat heb je nodig?
1) Python 2.x
3) Python script ffu2img.py
2) Win32 Disk Imager om het image bestand op de SD kaart te zetten.
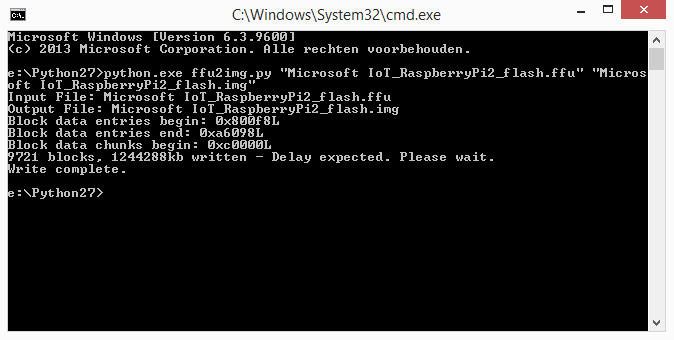
Zet het Python script en het FFU bestand in de Python folder en begin de conversie met het commando:
python.exe ffu2img.py "Microsoft IoT_RaspberryPi2_flash.ffu" "Microsoft IoT_RaspberryPi2_flash.img"
Je hebt nu een IMG bestand, deze kan je met Win32 Disk Imager op een SD kaart zetten.
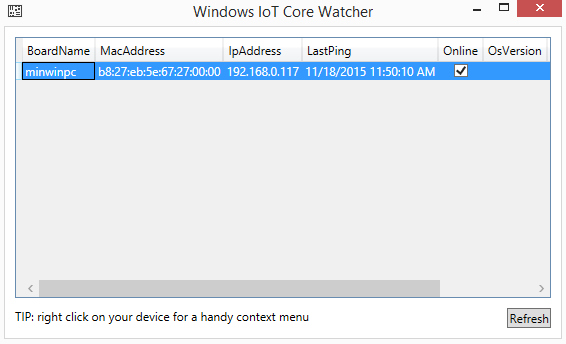
Je kan Windows 10 IoT core watcher gebruiken om apparaten in het netwerk te vinden: