Prusa i3 Mega – Bouwinstructies
Prusa i3 Mega
Bouwvolume: 400x400x400 mm
Software:
Sketchup (.skp bestanden)
Inkscape (.cdr bestanden)
Open 3D Model Viewer (.3ds bestanden)
The Prusa Titan concept was first introduced by the company named BluePrinted.com.au on October 8 2014, however to this day the company did not publish the blueprint’s for the build of the large Prusa i3 3D printer.
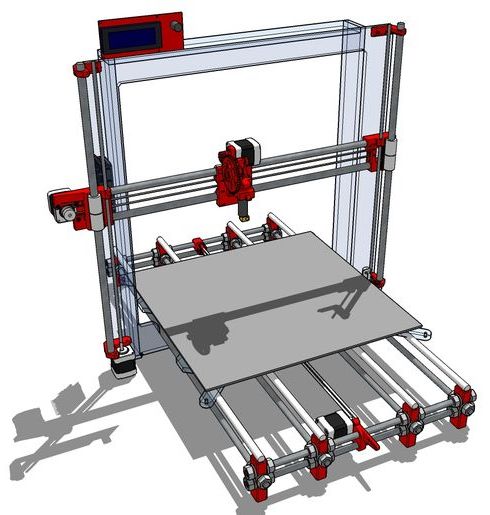
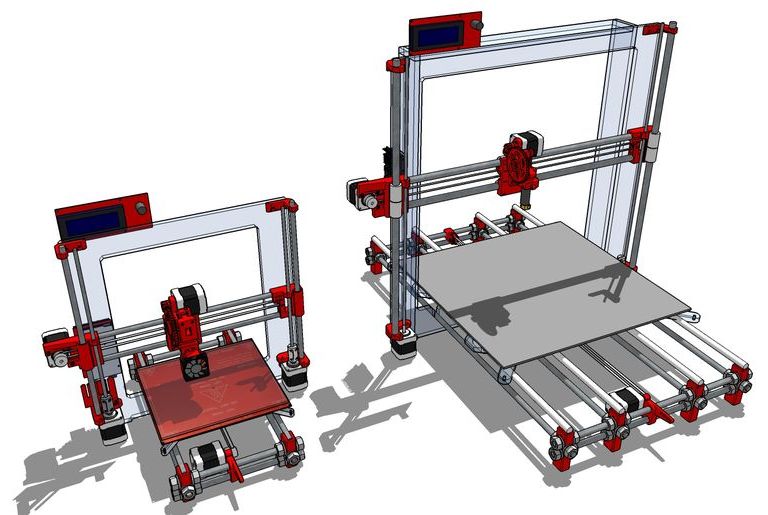
Because i found the concept very interesting i took the liberty of sharing my version called Mega Prusa i3 Rework. The Mega Prusa i3 rework is basically an enlarged version of the Prusa i3 Rework. Is is scaled up from the original design. To be more precise, the Mega Prusa i3 Rewrk is scaled um in order to allow 8 times the build volume of the Prusa i3 Rework, a stunning 400x400x400mm.
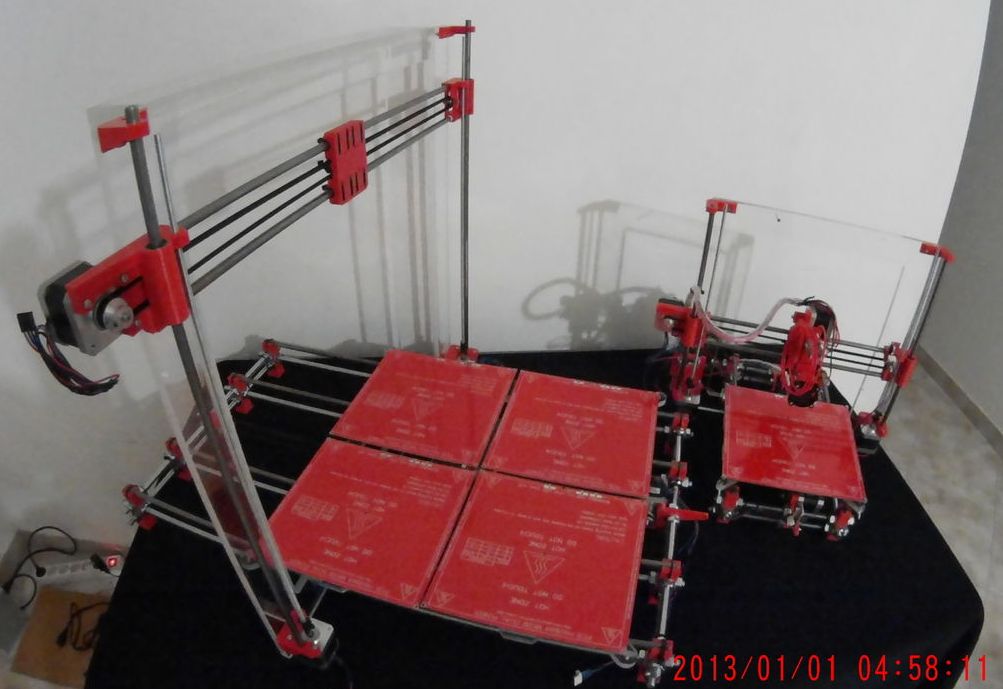
Vergelijking Prusa i3 vs. Prusa i3 Mega
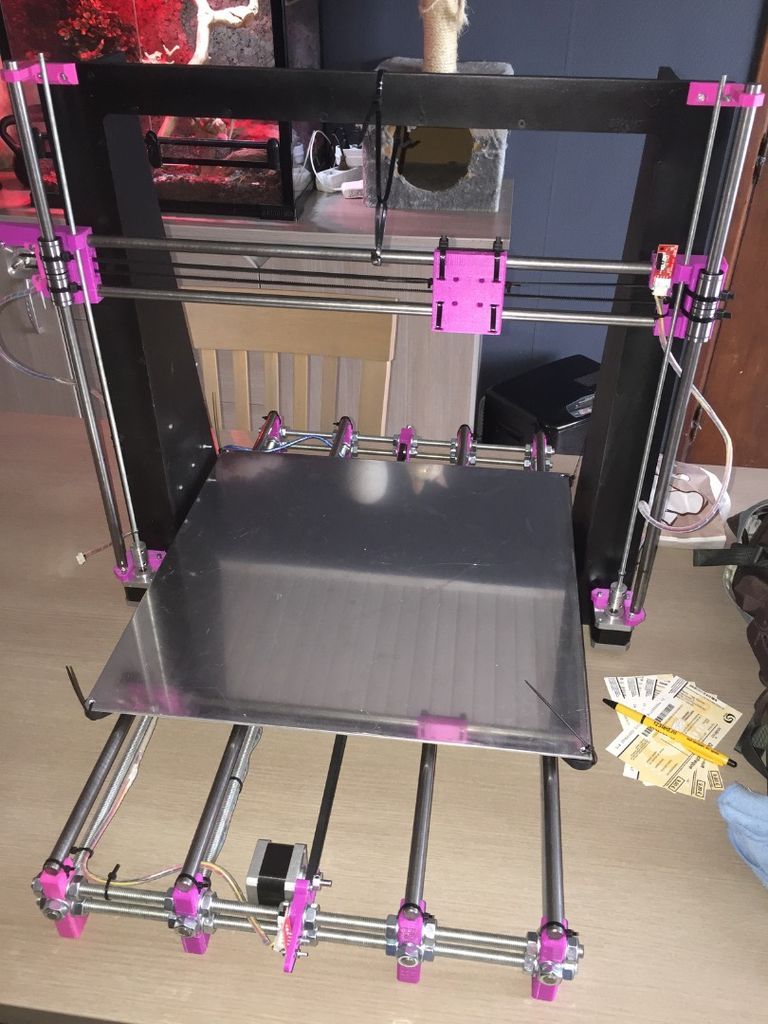
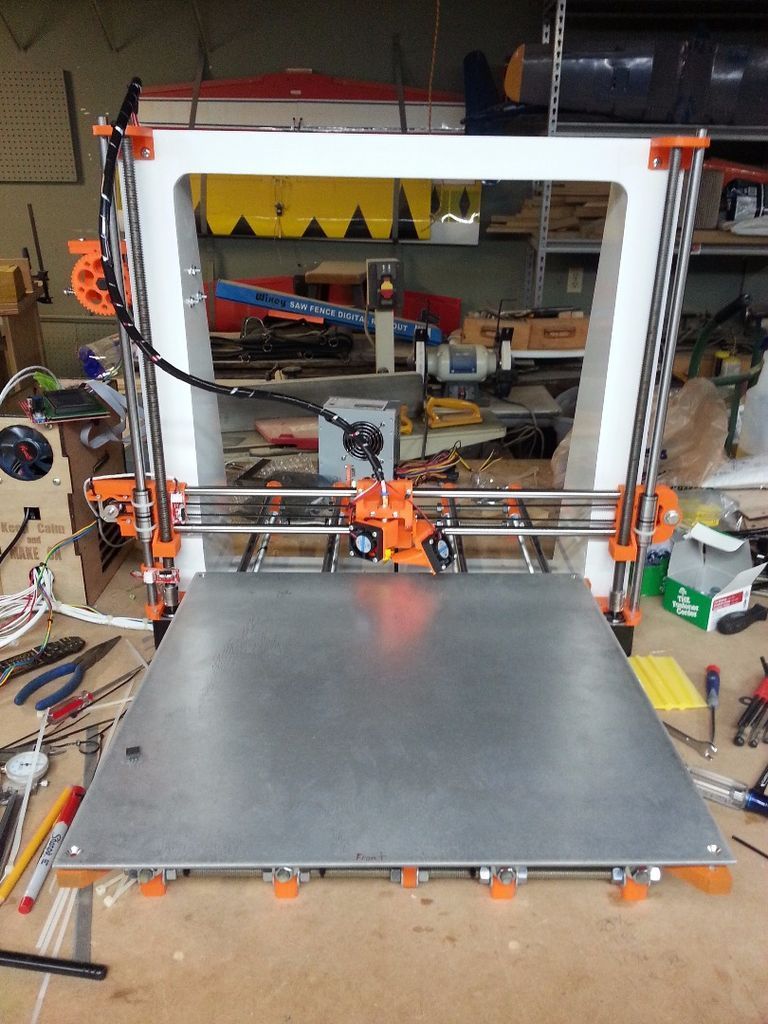
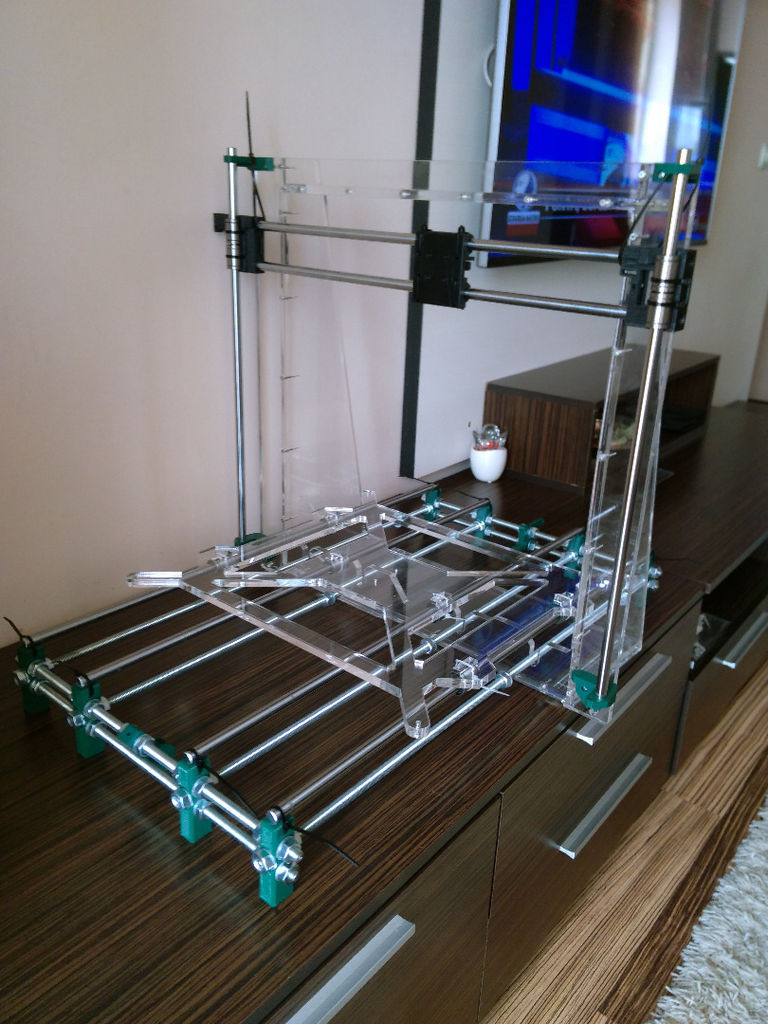
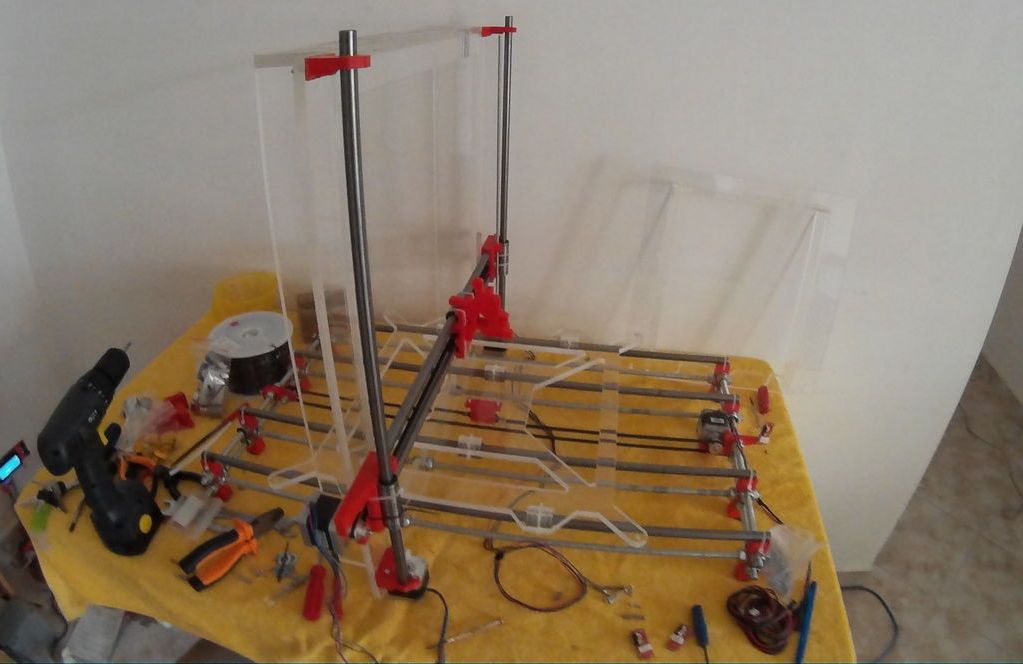
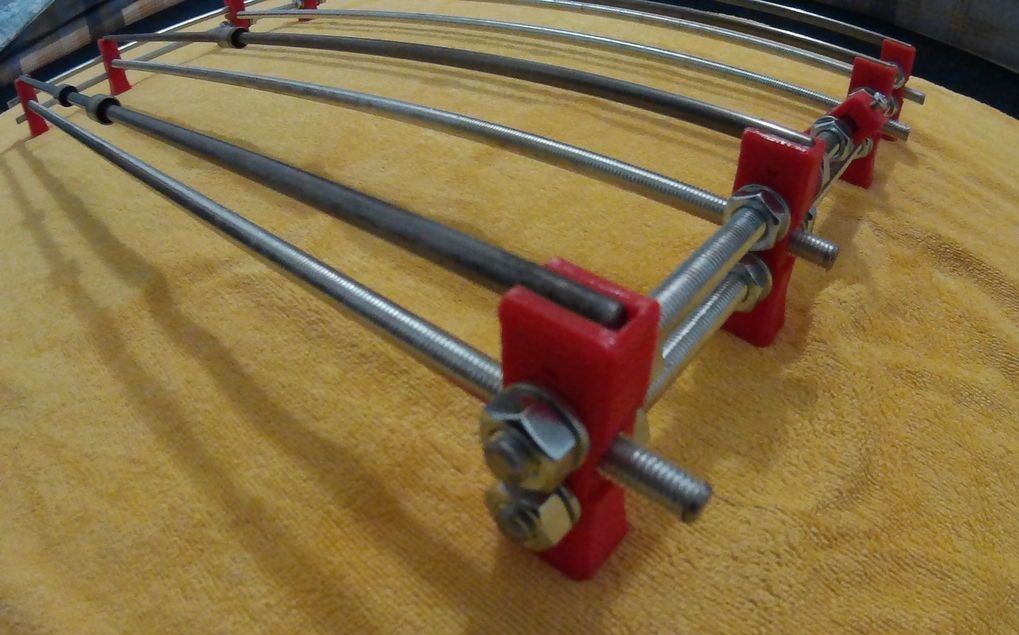
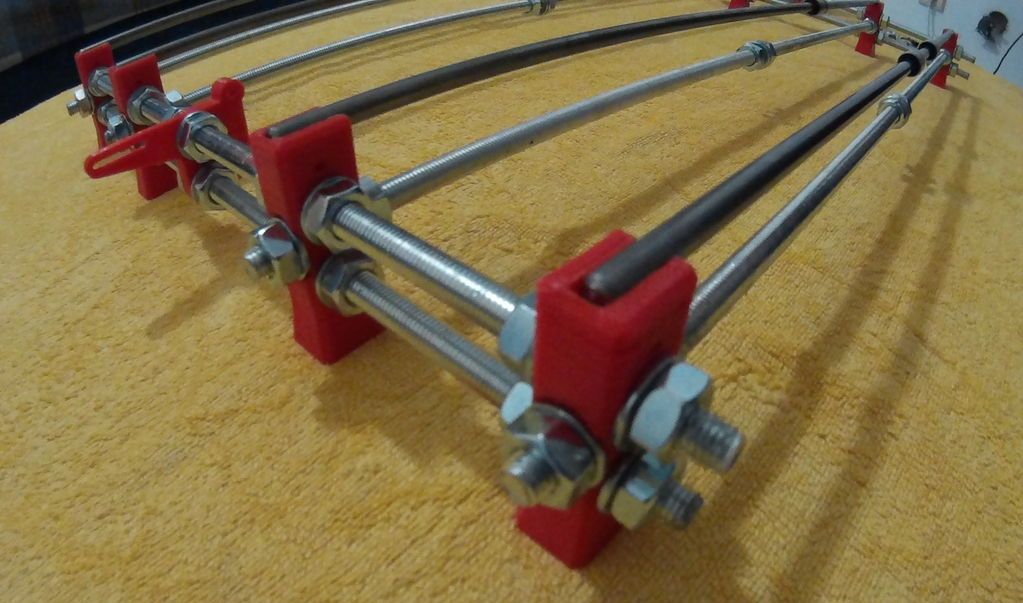
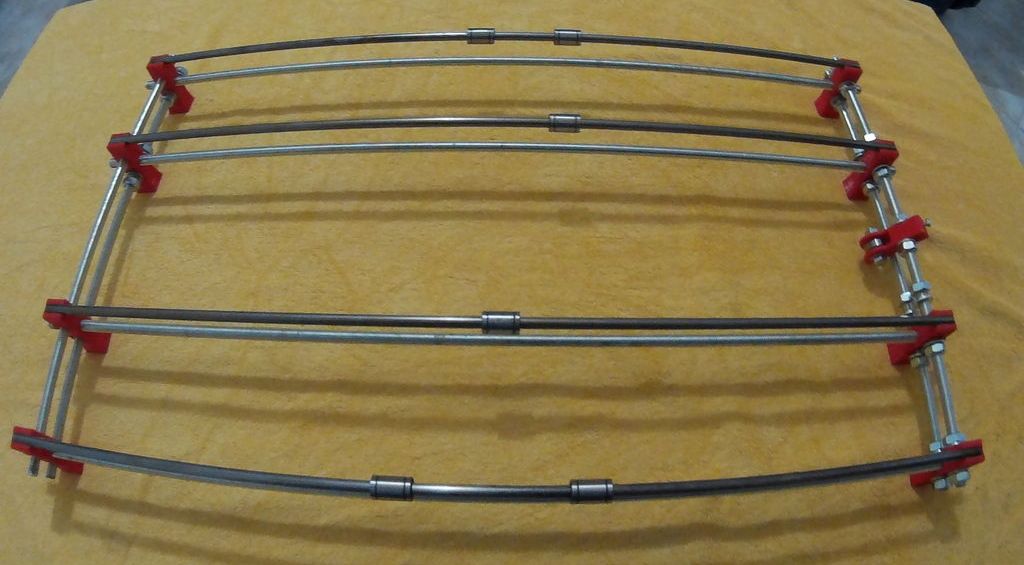
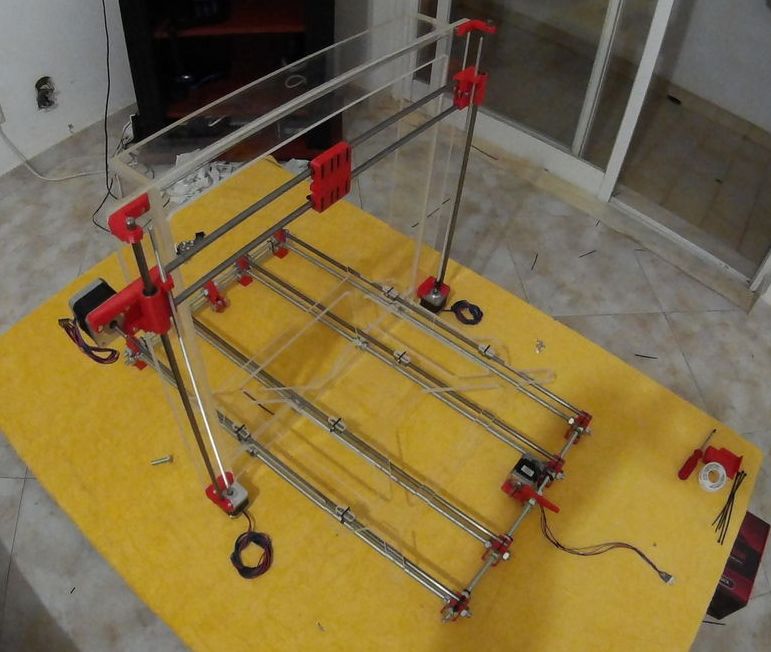
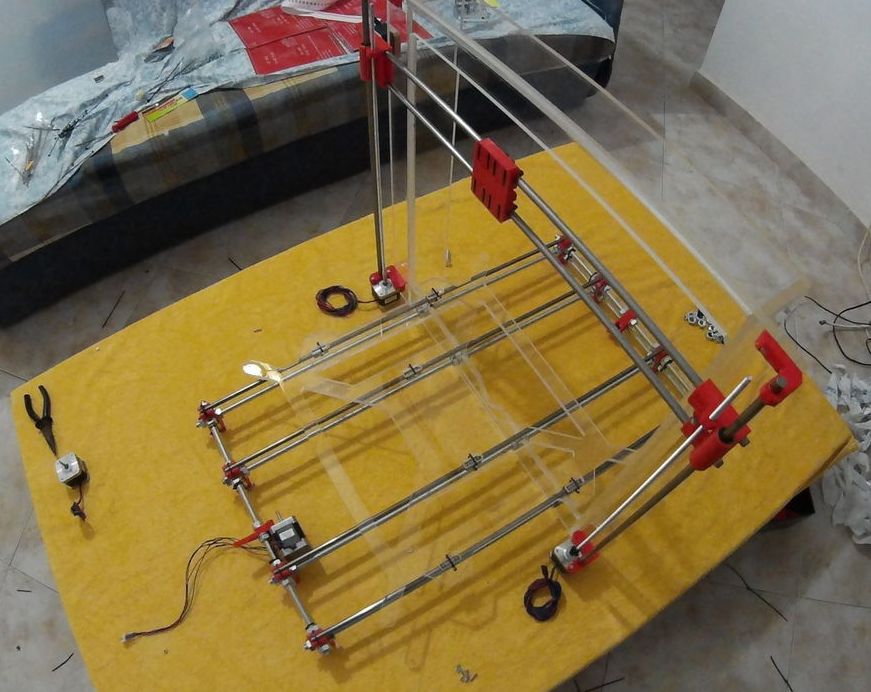
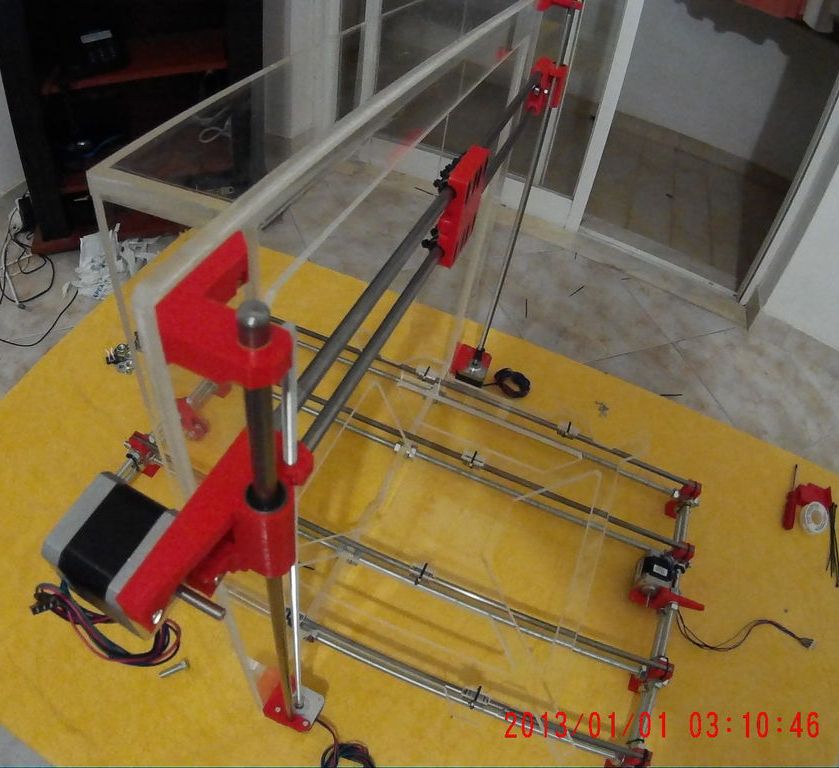
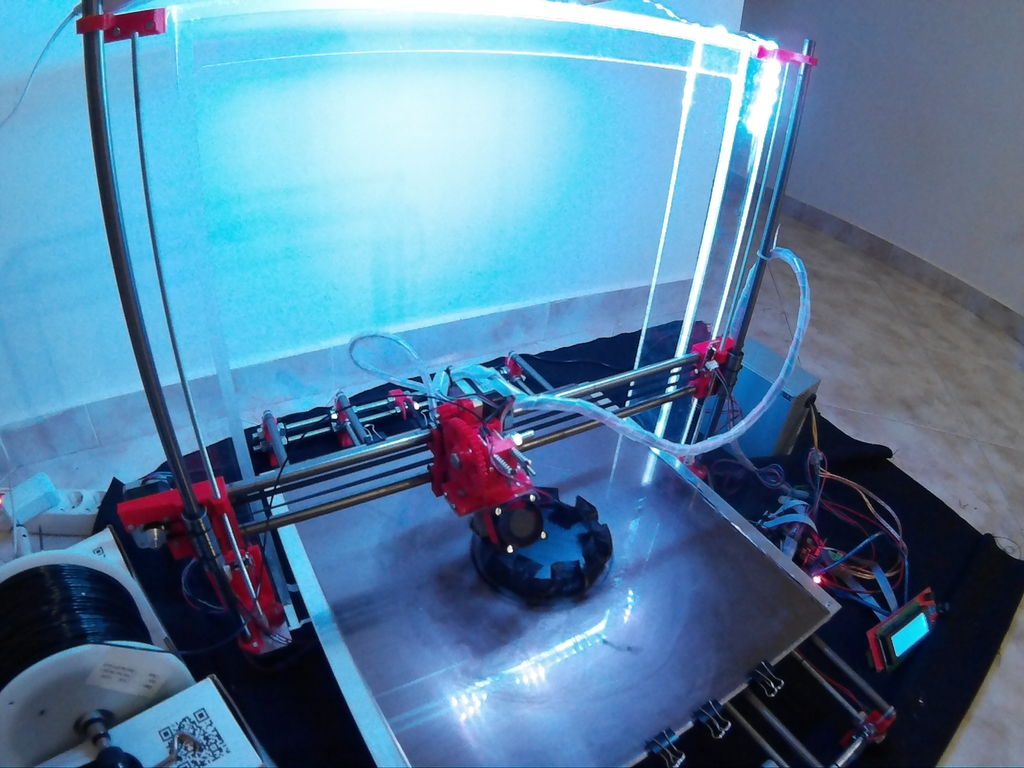
Foto’s:
SKP bestand te download onderaan deze pagina
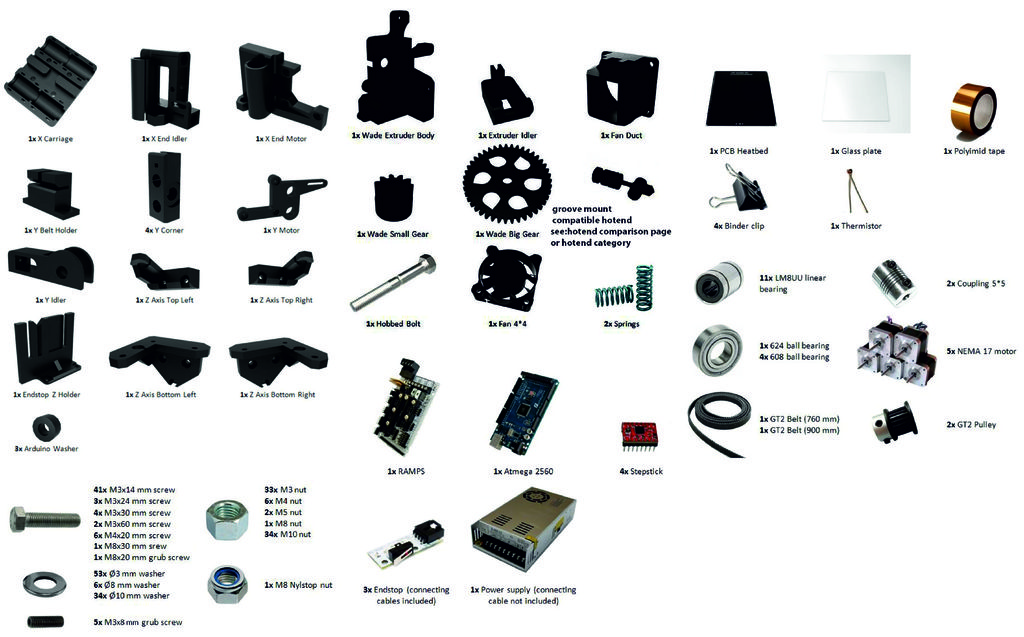
Materiaallijst
Here is the list of material needed to build a Mega Prusa i3 Rework, tey are very similar to the Prusa i3 rework.
– Rods
4 Smooth Rod Ø12 740 mm
2 Smooth rod Ø12 540 mm
2 Smooth rod Ø12 600 mm
2 Threaded rod M5 520 mm
4 Threaded rod M10 770 mm
4 Threaded rod M10 430 mm
– Mechanical Parts
14 Linear Bearing LM12UU
1 Bearing 624
4 Bearing 608
1 Belt GT2 1400 mm
1 Belt GT2 1400 mm
2 Coupling 5*5
5 Motor Nema 17
2 Pulley GT2
– Heated bed
1 Aluminium plate 450x450x3mm
1 Glass Plate 450x400x3mm
1 Kapton Tape
8 Binder Clip
1 Thermistor
– Electronics
1 RAMPS Board
1 Arduino Mega 2560
4 Micro stepping Drivers
3 Endstop w/ cables
1 Power supply w/ cables
– Screws, nuts and washers
41 Screw M3 14
3 Screw M3 24
4 Screw M3 50
2 Screw M3 60
6 Screw M4 20
1 Screw M8 30
53 Washer Ø3 mm
6 Washer Ø8 mm
54 Washer Ø10 mm
1 Grub Screw M8 20
5 Grub Screw M3 8
33 Nut M3
6 Nut M4
2 Nut M5
1 Nut M8
54 Nut M10
1 Nylstop Nut M8
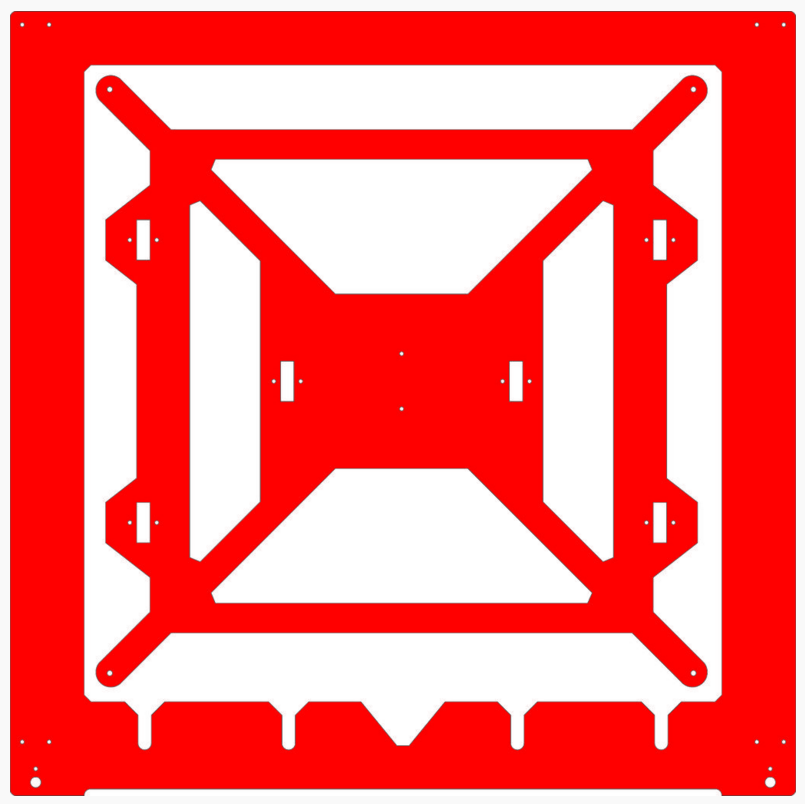
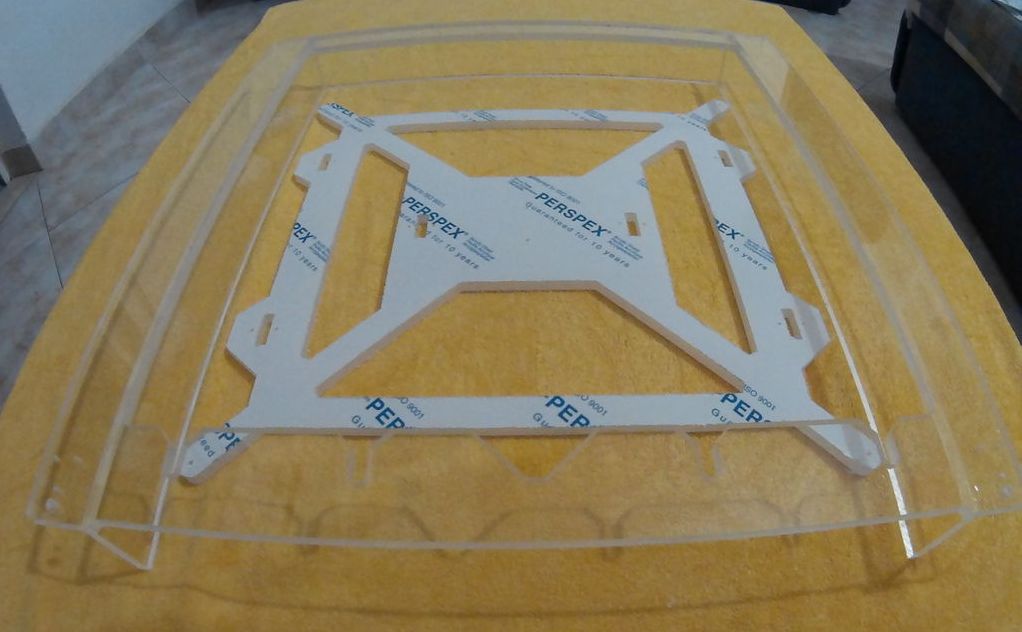
Acrylic Frame
1 Single frame with back support
1 Heated bed mount
Frame
Tools:
– CNC machine or Laser cutter
Materials:
– 600x600x10mm acrylic sheet
– Acrylic glue
Instructions: After cutting the acrylic glue the rear part of the frame for extra support.
CDR bestand te download onderaan deze pagina
Frame – Thingiverse
Frame_Bed_ACRYLIC.dxf
Supports_ACRYLIC.dxf
Frame_Bed_Supports_10mm-MDF.dxf
DXF bestanden te downloaden onderaan deze pagina
The Y Axis Guide and Transmission System
Y-IDLER.stl
Y-CORNER.stl
Y-MOTOR.stl
Y-BELT-HOLDER.stl
STL bestanden te downloaden onderaan deze pagina
The X Axis Guide and Transmission System
XCarridge_fixed.stl
XIdler_fixed.stl XIdler_fixed.stl
XMotor_fixed.stl XMotor_fixed.stl
STL bestanden te downloaden onderaan deze pagina
The Z Axis Guide and Transmission System
ZBottomLeft_fixed.stl
ZBottomRight_fixed.stl
ZTopLeft_fixed.stl
ZTopRight_fixed.stl
STL bestanden te downloaden onderaan deze pagina
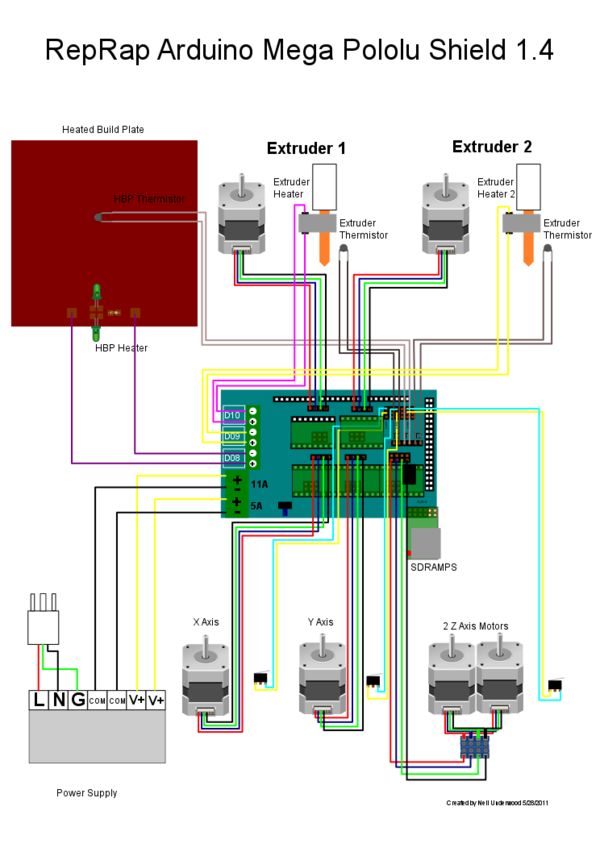
Elektronica
The Aluminium Heat Bed
Fist i tried to connect 4 heat-beds together but eventually found a more cost efficient way to do it using resistors.
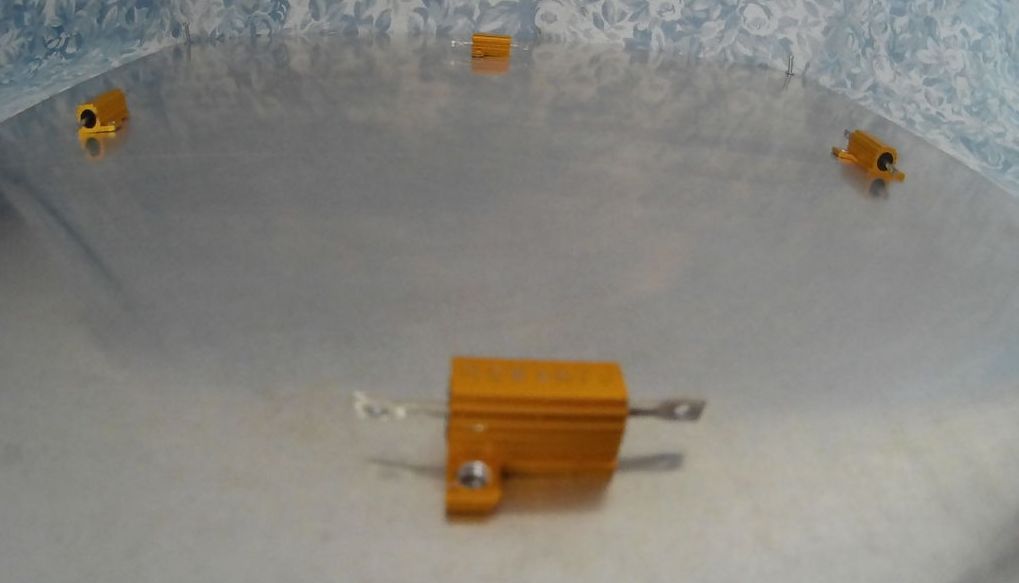
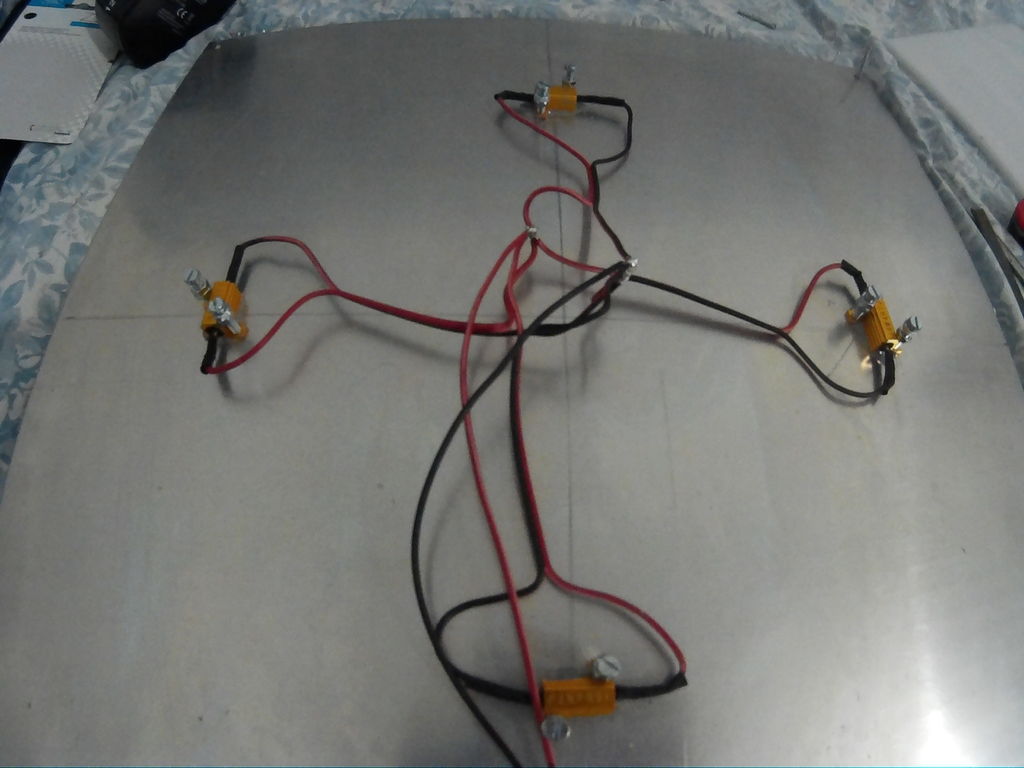
The Heat bed is made from a 450x450x3mm aluminum plate. It has 4 10W resistors 4.7 Ohm in parallel connected to the Ramps D8 connector.
Each resistor has 2 holes for fixating on the plate using screws.
Instructions:
– Tap 4mm threaded screw holes in the aluminum plate (for fixating the resistors)
– Fixate the resistors in place using M4 bolts
– Connect all 4 resistors in Parallel
Prusa i3 Mega
Extruder
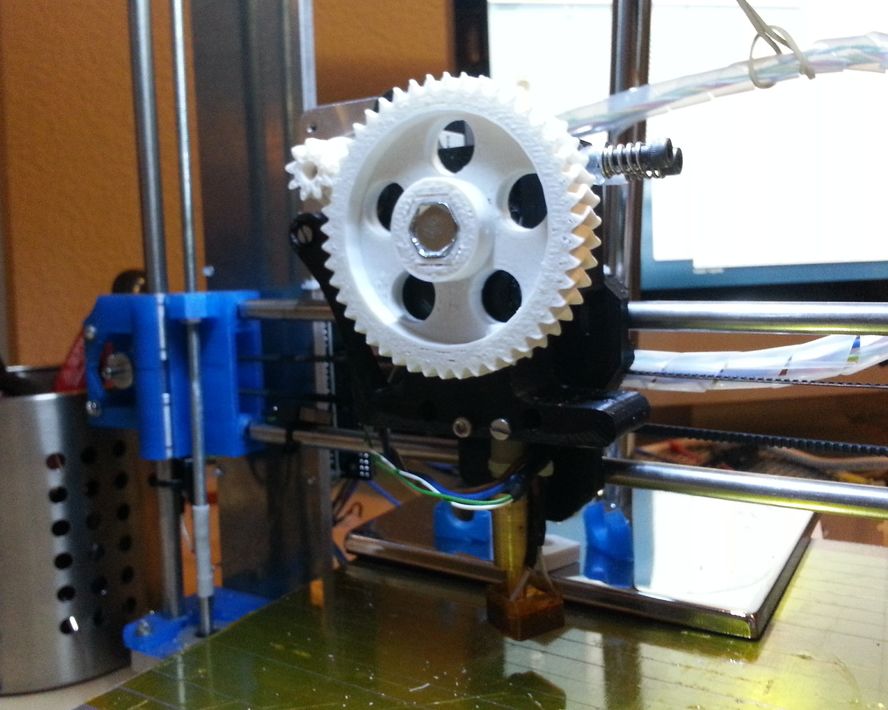
Extruder: Greg’s Wade extruder
[#/3dprinter/prusai3mega/onderdelen/prusai3mega” ]


